Menu path: Tools > Auto Numbering
You can use this tool to number your items. That’s it! You pick the field where the number should be stored and Data Crow will assign unique number to each field.
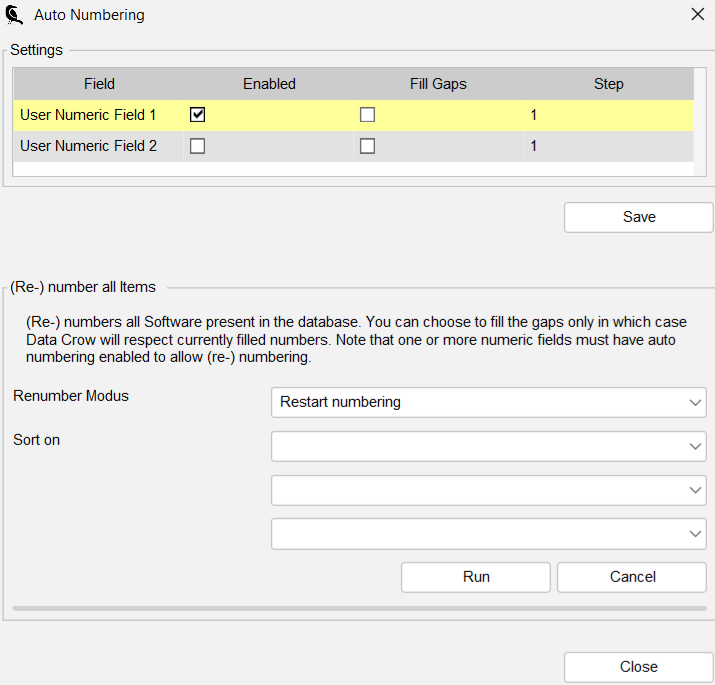
There are several settings available for the auto numbering feature.
Settings #
Field
The fields you can select are the custom fields. You can rename these fields in the General Field Settings.
Enabled
Enables auto numbering for this field. The field will also be enabled and made visible (if it is not already so).
Fill Gaps
When you have 3 items with a number assigned to each (1,2,3) and you decide to delete the item with number 2 assigned it, you can reuse this number for a new item.
With this option disabled, Data Crow would assign the next item number 4 instead of filling the gap by using the available number 2.
Renumbering Options #
With the renumbering option you can indicate which items should be numbered and in which order.

Renumber Modus
There are two types of renumbering available; all items can be given a new number or only items with no number are assigned a number.
- Restart numbering
- Fill gaps only
Sort on
You can define the ordering for the renumbering action. Items can be sorted on 3 fields. In the example above all items will first be sorted on Year, then on Rating and then on the Title of the item.
If you just want to number your items uniquely and don’t care about the order simply do not select any field in the sort on section.
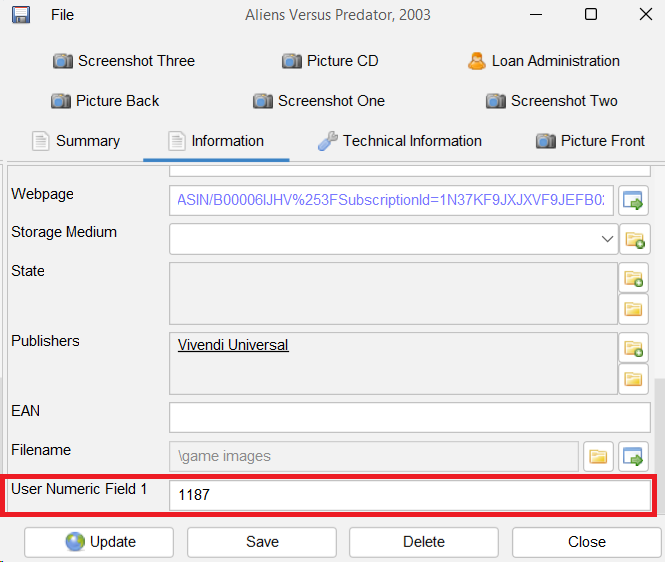
Numbers on your Items #
After numbering your items you can find the information on each of the items. Just open the Item Form and find the field there. If you just enabled one of the customer number fields for the first time, the field will be added to the Information tab of the item form, all the way at the bottom.