
Menu Path > File > New (CTRL-N)
or double-click an existing item in the item view
The item form shows a single item, new or existing. The form allows you to create, update, or delete an item.

Changes to an item can be saved by pressing the “Save” button. Pressing the “Cancel” button discards any changes you have made (a warning is shown first) and closes the form. To delete an item, press the “Delete” button.
Buttons #
The following buttons can be shown in the Item Form:

| Update. Not all modules offer Online Services. If this feature is available then there is an “Update” button in the lower part of the item form. The Online Update allows you to find (and use) information about your item using an online service. |
| Save. Applies the changes you have made and saves the item. |
| Delete. Deletes the item after which it is no longer to be found. This action cannot be undone. Data Crow will ask for confirmation before performing the deletion. |
| Close. Closes the item form and discard all changes made. Alternatively you can use the ESC key. |
File Menu #
| Read File Information. To read the information from a movie file, a music file, etc. go to the “File” menu and select “Read File Information”. If the item already has a filename defined, the information from that file is (re-) read. Otherwise a dialog is opened which allows you to browse for the file from which you want the information to be read. Data Crow will read the information from the file and update the values in the item form. |
| Close. Closes the item form and discard all changes made. Alternatively you can use the ESC key. |
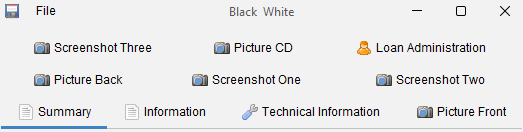
Item Form Layout #
The Item Form is divided in tabs. These tabs can hold one or more input fields.
Note: You can modify the layout of the item form using the item form settings.
Entering Information #
This section explains the various types of fields you might encounter when entering information.
Text Field #
In a text field, as shown below, you can enter any kind of text.

There are also larger text fields such as the description field as shown below:
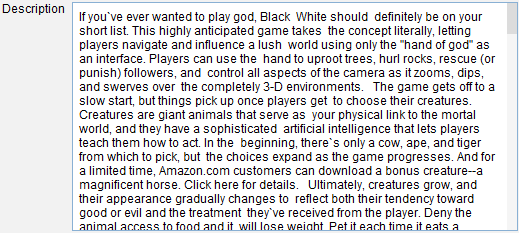
The scrollbar on the right hand side can be used to move up and down through the text.
To view the text even better you can CTRL+mouse click (hold down the control key + left click with the mouse) anywhere in the field and a separate dialog is opened:
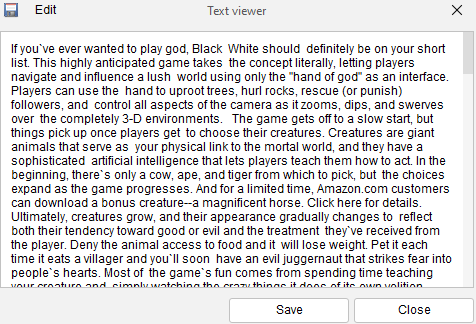
This dialog can be enlarged, of course, and can be used to view and/or edit the text in a more convenient way.
Additional options are available from the right-click menu. Here you find the shortcut keys available to insert, cut or copy text.
A special option is to insert a time stamp using the F5 key.
Number Field #
In a number field only numbers can be entered (without decimal characters).

Tag Fields #
A tag field can be very useful for quickly specifying certain characteristics, not fitting in any of the other fields. To add tags to this field, simply start typing. Close a tag / start a new tag by pressing the TAB key.
Tag words / tags are saved and reused for every item within Data Crow. While typing Data Crow will suggest existing tags / tag words. Note that the tags / tag words can be maintained from within the Administration menu.

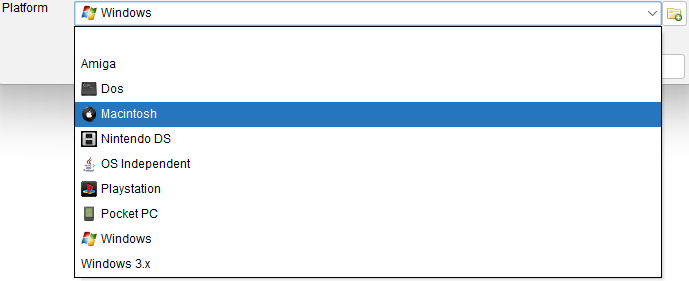
Drop Down #
Drop downs contain predefined values that can be assigned to an item. Simply select the value from the list.
In case you are missing an item in the drop down a new item can be created. To add a new item to the list press the ![]() button. This will open a new item form where the values can be entered. Press “Save” once satisfied and the item will be added to the Drop Down.
button. This will open a new item form where the values can be entered. Press “Save” once satisfied and the item will be added to the Drop Down.
Multi-Reference Field #
With this field multiple references can be assigned to an item.

Each of the listed items can be clicked upon to review the details (in the example above you could for example click on Strategy and its details would be displayed).
In case you are missing an item a new item can be created straight away.
To add a new item press the ![]() button. This will open a new item form where the values can be entered. Press “Save” once satisfied and the item will be added to the selected items.
button. This will open a new item form where the values can be entered. Press “Save” once satisfied and the item will be added to the selected items.
Selecting Items
To assign and/or remove items click on the ![]() icon. The assignment dialog is opened.
icon. The assignment dialog is opened.
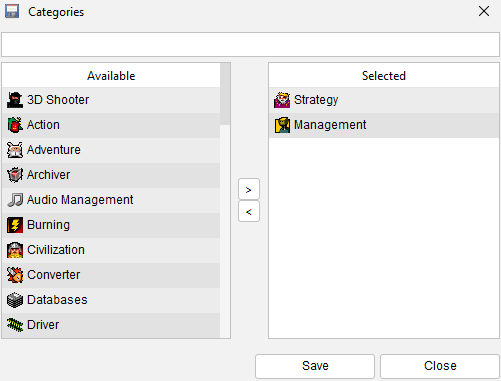
On the left hand side the available items (categories in above example) are shown. These items are not assigned to the item and are available to be assigned to the item. On the right hand side the selected items are shown. These items are currently assigned to the item.
Filtering
You can filter by typing in the text field located at the top of the screen. The available items list is filtered while you are typing. It looks for items where the name starts with the entered value. Removing the entered text case all items to be shown.
Selecting Items
You can double-click on the item to assign it. To remove an assigned item double click on the corresponding assigned item.
Instead of double-clicking you can also use the ‘>’ or the ‘<‘ button. Select the items you want to assign or unassign by clicking on them while holding the CTRL key and press the corresponding arrow button.
Applying the Selected Items
Press “Save” to store the changes.
File Field #
Here a link can be created to a file in the system. Press the ![]() icon to browse for the file you want to link to this item.
icon to browse for the file you want to link to this item.

A file can be started/launched by clicking on the ![]() icon.
icon.
Pictures #
Pictures can be found in the pictures tab.

In this tab any picture can be added, removed or altered.
Children #
In case the module has a child module, such as the Music Album module, you can create children for its items.
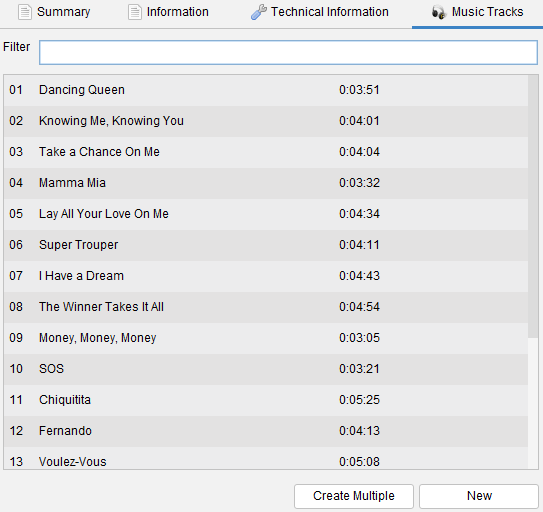
Create Multiple
If you want to create multiple items at once, press the “Create Multiple” button.
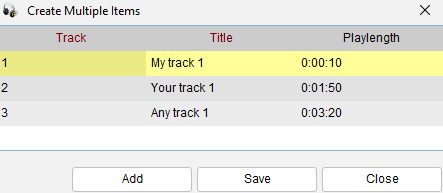
To add a row to this overview press the “Add” button. Click on the row and start typing. Once you have entered information for all the lines you have added press the “Save” button. Your items are created!
Opening a Child Item
Double-click on the item and it will open the item form. From here you can view and/or edit the item (depending on your privileges in the security and the general settings).
Deleting an Item
If you right-click on one of the items you can choose to delete the item.
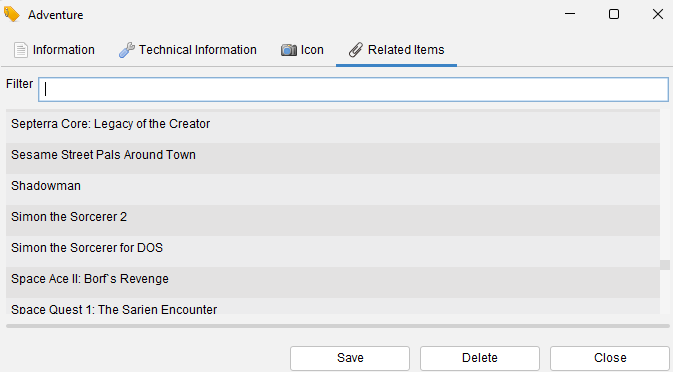
Related Items #
The related items tab shows which items have a relationship with this item. In the example below we are looking at the software category Adventure. This category has been assigned to a number of items among which Simon the Sorcerer 2. You can double-click the item to open it.
Loan administration #
Here you can register a loan or mark a lend item as returned, making it available for others to lend. Read this for more help. Additionally there is one overview showing all the loans (also historical). This overview can be found in the Administration menu and is called Loan Administration.


