
Right-click in item view > Select Loan Administration
Loans can be administered via the right-click menu on pressing “Loan Administration” or via the “Loan” tab of the Item Form.
Lending an Item #
You can get an overview of your loans by using the Loan Administration utility from the “Administration” menu. The contact person form also contains a separate tab showing his lend items.
If an item has been lent and is overdue (the contact person did not return the item before the due date) a warning message is displayed on start up.
Persons #
Items can only be lend to contact persons. To administer loans you need to register at least one contact person in the contact person module. The registration of contact persons works just the same as the registration of items in the other modules.
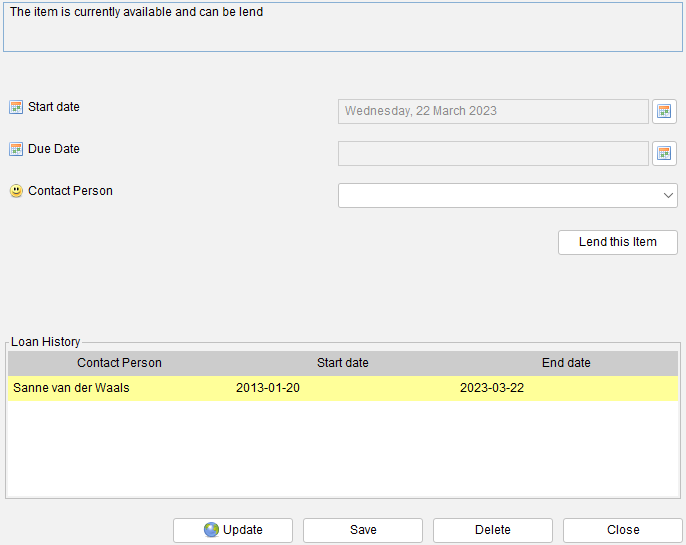
Lending an item #
Specify the contact person to whom the item will be lend and specify the date on which the loan starts. If the loan start date is today (or in the past) the item will be marked as unavailable.

You can enter a due date to indicate when the person should return the item. If the person returns the item after this date the item will be considered to be overdue.
The item cannot be lent to anyone else until the item has been returned. Note that there are 3 fields available which tell you more about the loan status, “Available”, “Loaned By” and “Days Loaned”. These can be added by through the General Field Settings.
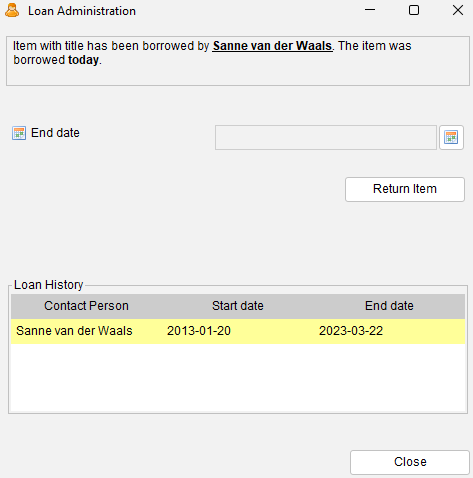
Returning an item #
Items borrowed by a person can be registered as “returned”. Press “Return Item”. By default the item’s return date is today. You can enter a different date in the “end date” field before pressing the “Return Item” button.

Filtering #
As stated before there are three fields available which tell something about the loan status of a specific item, “Available”, “Loaned By” and “Days Loaned”. These fields can be used to create a Filter.
Note that the Loan Administration allows you to look at all loans, both current and historically.
Loan History #
This overview shows the previous loans.

Loan Administration #
Menu path: Administration > Loan Administration
The loan information gives an overview of currently lend items. You can search for specific loans using the filter fields.

The following filter fields are available:
| Loan Type. Select the type of loans you want to include in the overview. You have the option to only include current loans, historical loan or both. |
| Lend by. Select the specific contact person to get an overview of the items borrowed by him or her. |
| Item. Select the type of items you want to filter on (software, movies, etc). |
| Late returns only. only include overdue items. |
| Due date from and to. Select the date range for the due date. You can leave either field, or both, blank. |
| Start date from and to. Select the date range for the start date. You can leave either field, or both, blank. |
The overview shows the loans. You can double click on any of them to return an item or to look at the details.
Right-click on any of the loans to either edit or view the item itself:
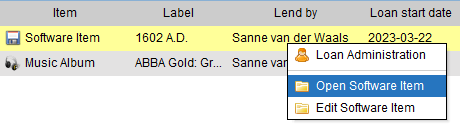
The following information is shown per loan:

| Item. What kind of item are we looking at (software, board game, etc.). |
| Label. Description of the item. |
| Lend By. Who is borrowing the item? |
| Loan start date. The date of the start of the loan. |
| Loan end date. The return date. Only historical loans will hold a value here. |
| Due Date. When should the item be returned? Displayed in red in case overdue. |
| Loan status. The status of the loan such as overdue, lent and available. |
| Days. Number of days in relation to the current loan status. |
Exporting Loans to a Calender #
Menu path: Tools > iCalendar Loan Export
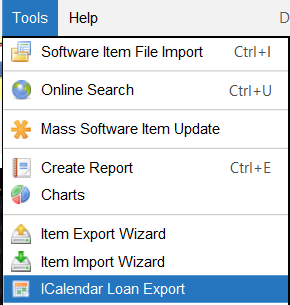
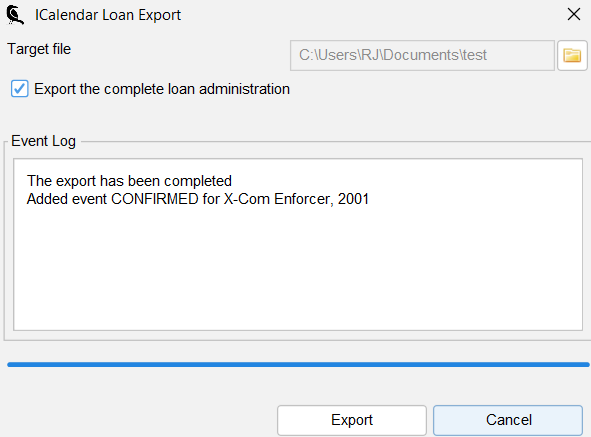
This tool exports the loan information to an iCalendar file (ICS). iCalendar files can be imported into most agenda / calendar programs (mostly email clients with an agenda).
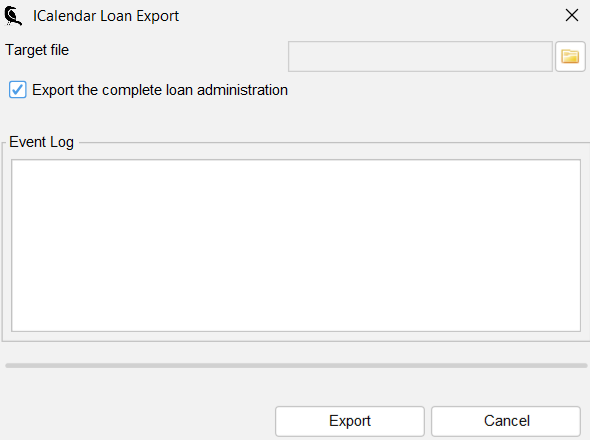
Export File #
Select the target file (mandatory).
Export the complete loan administration #
If not selected only changes since the last export will be exported;
1 – First export will contain all loans (since there is export history yet)
2 – Second export will only contain new loans and returned loans.
To export the complete loan administration simply tick this option;
No export history will be tracked and the export file will always contain all loans.
Opening the ICS file #
On your operating system you can try and double-click the generated file. In my case, Outlook is already associated with ICS files by default, resulting in the file being immediately imported;
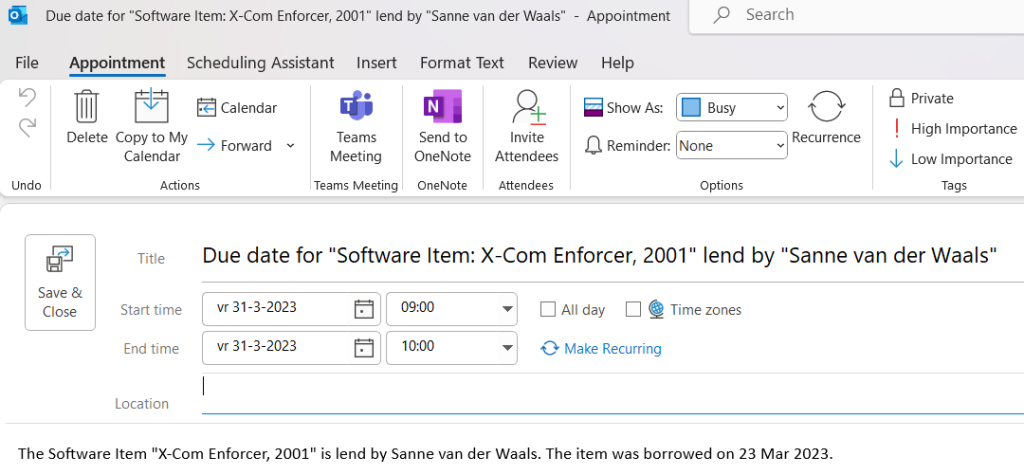
If this does not work on your system please refer to the documentation of your e-mail program to see on how to import the ICS file format.


