
In this topic all the settings and options within Data Crow are explained.
Card View Settings #
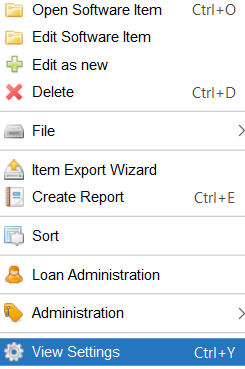
Menu path: Settings > View Settings
The view settings allow you to change the colours and the information shown in the view. You can change the view settings by going into the Settings menu and selecting View Settings or by right-clicking in the view and selecting View Settings.
Description
Select the field which will be used to describe the item in the card view.

On the left hand side of the screen the available fields are shown. On the right hand side the fields that are currently part of the description are shown. Double click on one of the available fields (columns) to add it to the view. Double click on one of the selected fields to remove the field (column) from the description.
On the top you’ll find a filter field. This can be used to quickly find one of the available fields (as the list can be quite long).
Using the arrow buttons (right hand side of the screen) the order of the selected fields can be changed. Click on one of the selected fields and press the appropriate arrow button to move the field up, to the top, down or to the bottom of the list.
Pictures
Here you can select the image that will be displayed. If the first picture is empty, the second picture is shown (and so on).
Colors
Set the even and odd color and/or set the background color for all the cards.
Table view settings #
Menu path: Settings > View Settings
The view settings allow you to change the colors and the information shown in the view.
Columns
Here you can select which fields should be displayed in the table view and define their order.
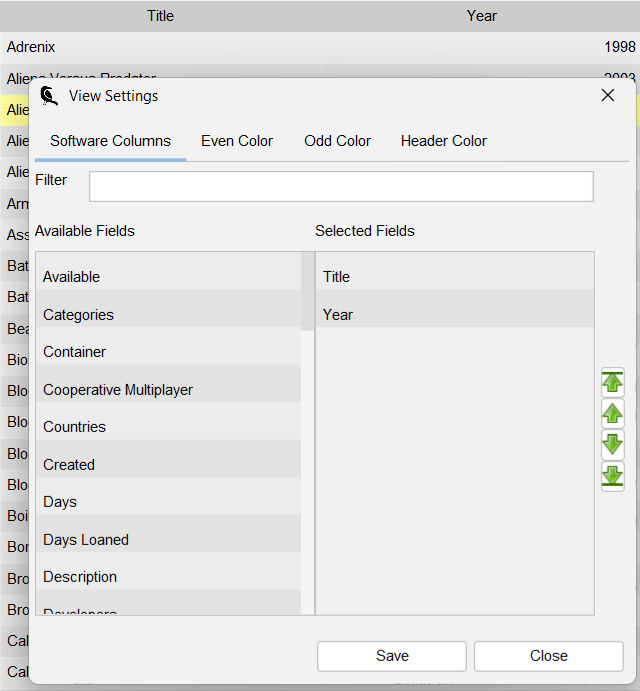
On the left hand side of the screen the available fields are shown. On the right hand side the fields that are currently shown in the view are shown. Double click on one of the available fields (columns) to add it to the view. Double click on one of the selected fields to remove the field (column) from the view.
On the top you’ll find a filter field. This can be used to quickly find one of the available fields (as the list can be quite long).
Using the arrow buttons (right hand side of the screen) the order of the selected fields can be changed. Click on one of the selected fields and press the appropriate arrow button to move the field up, to the top, down or to the bottom of the list.
Colors
Set the even and odd color and / or change the header color.
Selection Color #
Menu path: Settings > Settings > Selection Colors
Change the color used to indicate an item has been selected.
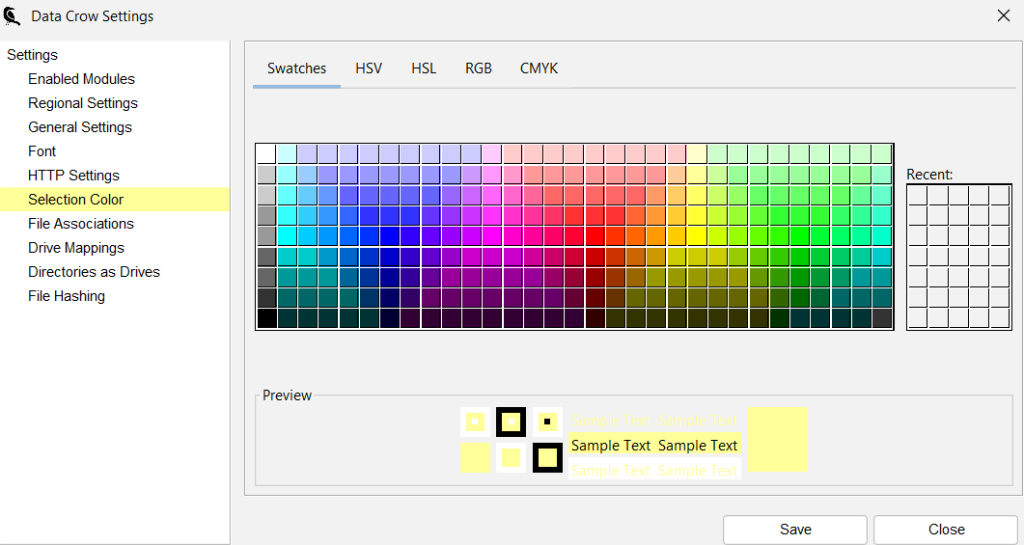
You have multiple ways to select the color. “Swatches” is the easiest tab to use as you can simply click on one of the colors in the table. The other tabs allow for much more precision, ideal if you are rally looking for an exact shade of grey.
The preview reflects your selection. Press “Save” once you are satisfied.
Directories as Drives #
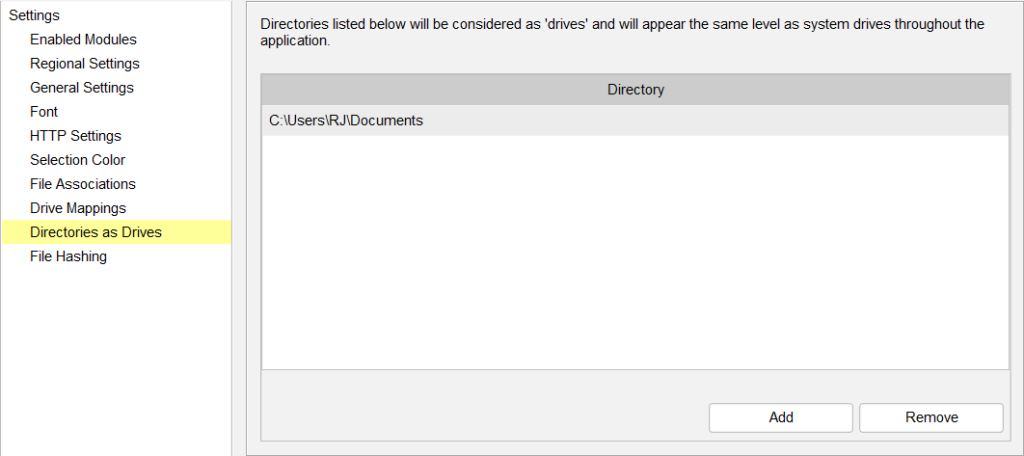
Menu path: Settings > Settings > Directories as Drives
Not all platforms have or know the concept of a drive. To make your life easier within Data Crow (especially when working with the Drive Manager) you can define which directories should be considered as drives. It essentially creates a shortcut to the directory. Without this the Drive Manager functionality will not work on most non Windows platforms.
Add new Drive
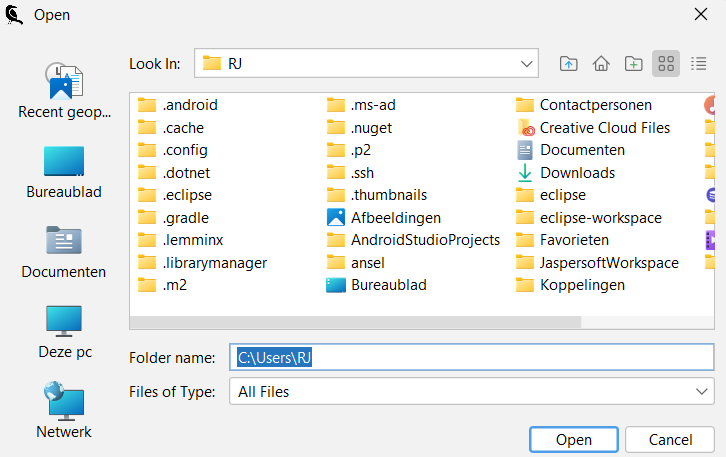
To add a new drive, simply press the Add button. A directory browse window will appear. Select the directory you would like to be treated as a drive within Data Crow.
Once this has been set, restart Data Crow. Only then the changes will become apparent.
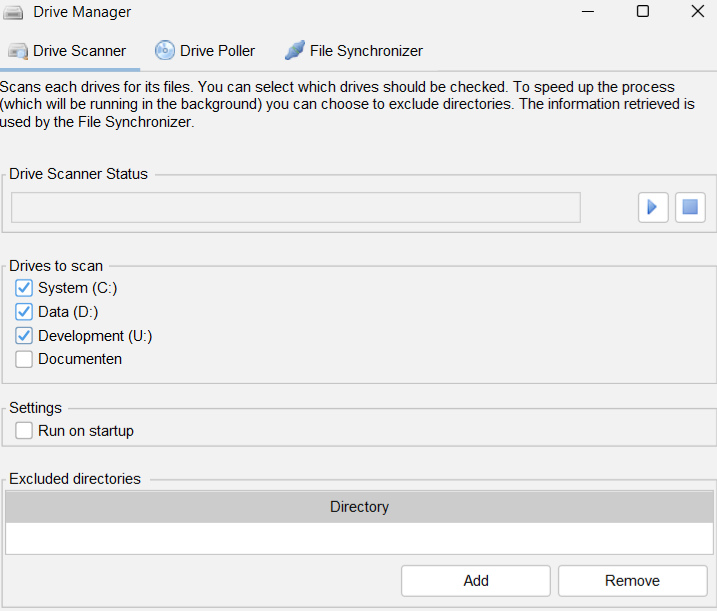
After restarting my selected directory (Documents) shows up as a drive in the Drive Manager tool:
Removing a Drive
Select the Drive in the table and press “Remove”. After restarting Data Crow the drive will have been removed.
Drive Mappings #
Menu path: Settings > Settings > Drive Mappings
In case a drive letter has been changed you can map this within Data Crow. This ensures that file paths stored in Data Crow still work without you having to change the file path on each and every item. This is a good option to use if you use Data Crow on multiple systems where the location of the external drive differs. If the files actually have been moved and you want this reflected in Data Crow consider using the Drive Manager.
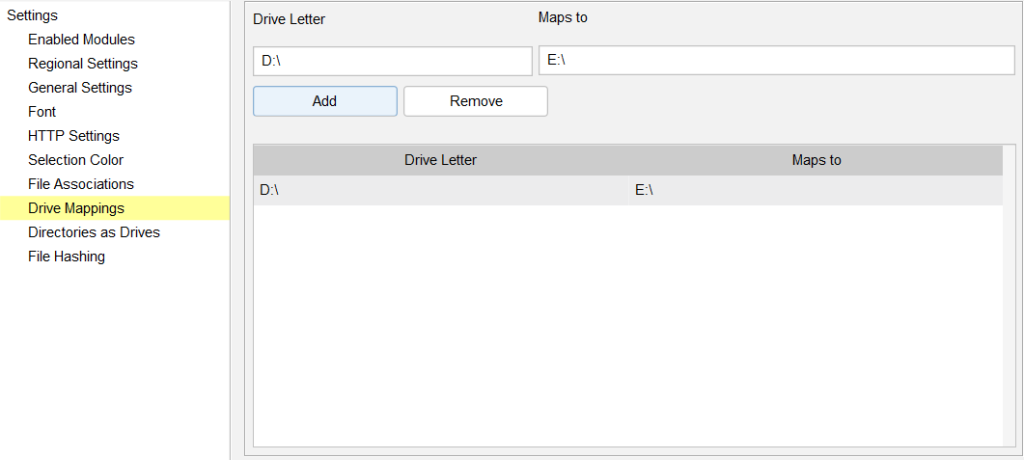
An example for a mapping is: D:\ maps to E:\. The filename D:\TEST\TEST.MP3 will now become E:\TEST\TEST.MP3. The path as stored in Data Crow will still be D:\TEST\TEST.MP3 but on screen the new filename will be displayed and will also be used for all tools and operations.
Adding a Mapping
Enter the drive letter in the “Drive Letter” field and enter the new drive letter, the mapping, in the “Maps to” field. Press “Add” to activate the drive mapping.
Removing a Mapping
Select the Drive Mapping in the table and press “Remove”.
General Field Settings #
Menu path: Settings > General Field Settings
Data Crow uses fields to represents items. You have control over which fields should be filled at a minimum, which field(s) do uniquely identify an item, which fields should be visible / enabled and what is the label of the field.
Using the general field settings the settings of each of the fields can be changed.
Renaming a field
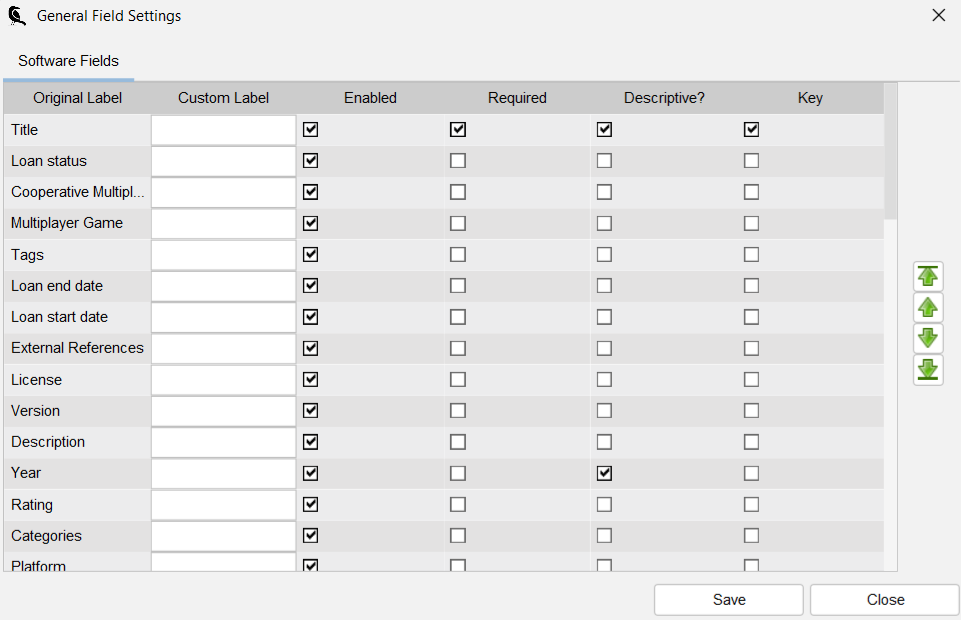
The label of each field can be changed. On the left the original label name is displayed. This is the default value. A new label value can be entered in the “Custom Label” column. Press “save changes” to save and apply the field settings.
Marking a field as required
You can mark a field as a required field. This field must always be filled when saving. The item will only be saved when all the required fields have been filled.
Enabled
Setting a field to disabled will not only hide the field but also disallows Data Crow to use this field. Note that for one field the enabled setting is completely ignored, namely for the ID field.
Descriptive
When a field is marked as descriptive (or a combination of several fields) the value of this field is used to represent the items.
Key
The combination of the key fields will be used to check if the item already exists (more about this).
Adding your own fields
There are 5 fields which are by default disabled. There are 2 short text fields, one long text (4000+ characters) and 2 numeric fields. These can be activated by checking the enabled checkbox. You can rename them to anything you like (see previous paragraph). Don’t forget to make them visible!
Adding more fields
Note that you can also modify a module to add the fields you are currently missing.
Setting the field order
The order of the fields can be changed by using the green arrow buttons. Click on the field you want to move up or down and press one of the arrow buttons to move it. The order effects the order of picture fields on an item form as well as the order of the descriptive fields (and thus the way the item is described). It might also make it easier for you to find the fields you are looking for next time.
File Associations #
Menu path: Settings > Settings > File Associations
The file associations are used to launch a file (via the right-click menu or using by using the file field in item forms). By default Data Crow will try and find the program to handle each file type. In case this fails (or you want to change the default behaviour) you can select the program to handle specific types of files here.
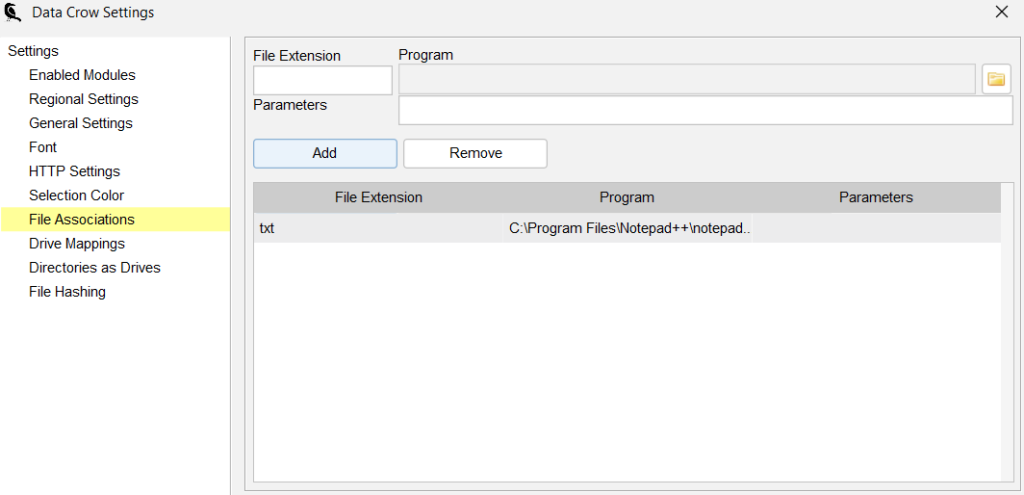
Adding an Association
Type the file extension (without the dot; not “.txt” but “txt”) and select the program to handle the file type by clicking on the ![]() icon. This will open the file browser. Navigate to the executable of the program and select “Open”.
icon. This will open the file browser. Navigate to the executable of the program and select “Open”.

Once you have entered the File Extension and the Program to handle it click Add to make it active. Note that you can optionally at parameters if so required by the targeted program.
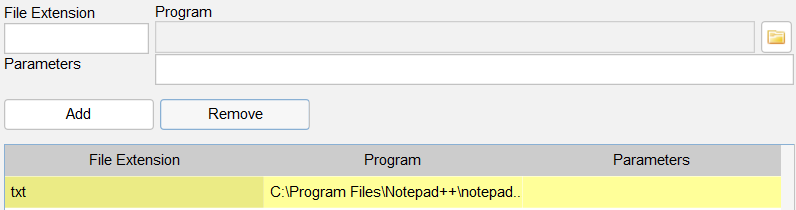
Removing an Association
Click on the file association in the table and press “Remove”.
File Hashing #
Menu path: Settings > Settings > File Hashing
Data Crow creates hashes for files to be able to uniquely identify them. The Drive Manager is one of the tools which uses the file hash to find moved files. When the File Hashing is setup, Data Crow will automatically calculate a hash for the file as linked to the item.
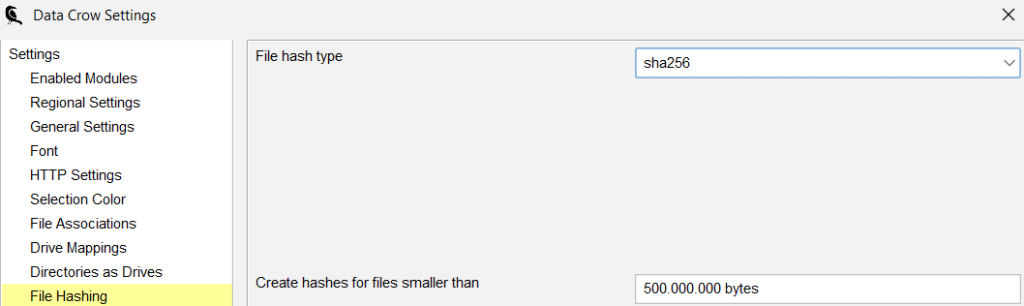
File hash type
Select the hashing algorithm. This is really a matter of taste. Any hash will do.
Create hashes for files smaller than
For performance reasons Data Crow only creates hashes for files smaller than a certain size. Here you can tweak this setting. Setting this value to 0, or leaving this value blank will enable parsing files of any size.
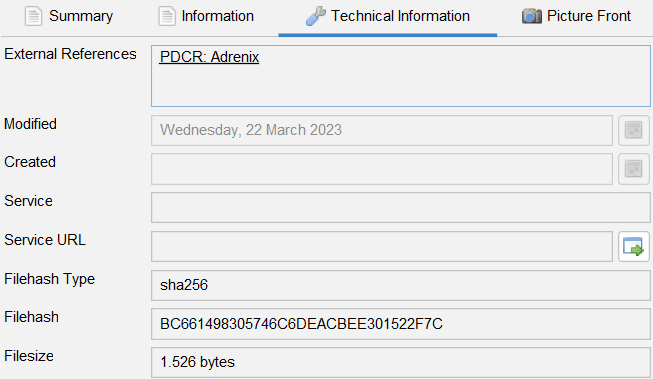
Seeing the calculated hash
When a file is linked to an item, Data Crow will calculate the hash. The details of which can be found on the Technical Information tab of the item form;
Fonts #
Menu path: Settings > Settings > Font
You can set the font for text (the values of an item) and for the labels (the field names and other system texts) independent of each other. You can choose the Font type, the size and the style (bold, italic, plain).
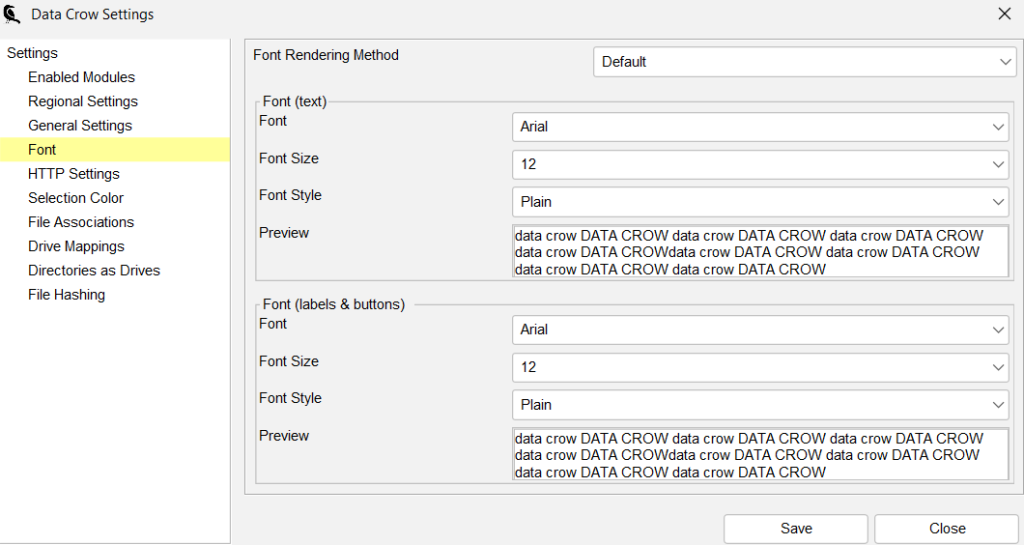
Font Rendering Method
This is a bit of a technical part. Important to know is that this setting determines how the fonts are shown on screen (rendered). If you have a laptop choose one of the LCD flavours from the drop-down.
Try one of the settings and press “Save” to apply. You can always switch back to default in case you are unsure.
Font Settings
Within Data Crow two different fonts are used, fonts for displaying text and fonts used for labels and buttons (etc).

You can select the font type, size and style (bold and or italic). A sample of the selected settings is shown on lower part. Once you are happy with your settings press “save” to apply them.
Foreign Character support
Data Crow supports Chinese, Japanese and other non ISO-8859-1 character sets (it supports Unicode / UTF-8 characters). To get this working however the Font you selected must support this as well. For Windows systems the best character sets to use are the ones having “Unicode” in the name, such as “Arial Unicode MS”.
Adding new fonts
You can add any missing fonts to the fonts folder of Data Crow installation. Data Crow will load any True Type Font file located in this folder on startup.
General settings #
Menu path: Settings > Settings > General
This section described the general Data Crow settings. These settings change the fundamental behaviour of Data Crow.
Note: these settings are stored per computer; even when you have multiple computers looking at the same user folder (see starting Data Crow) each computer will have its very own settings.
Open items by default in the edit modus
By default Data Crow will open items in edit mode. In case you deselect this option, items will be opened in view mode instead. You can still edit items but you’ll have to select Edit specifically from the menu bar or from the right-click menu in the view.
Enable high quality rendering (low performance)
Data Crow can render graphics in higher quality. By default this option is turned on despite it having a small impact on performance. This setting does not impact how images are stored in Data Crow.
Check for value uniqueness upon saving
Data Crow will check if the item is unique before it is saved. Uniqueness is determined by the values of key field (as defined in the general field settings). If the item is not unique it will not be saved and a message will be displayed.
This option is enabled by default and I do not recommend turning it off.
Check for required fields
Check if all the required fields have been entered. If not, the item is not saved to the database and Data Crow displays a message showing which fields should be filled in. This option is enabled by default and I do not recommend turning it off because as it could cause data inconsistencies.
You can define your own required fields in the general field settings.
Show tooltips for tables
Toggle the tooltips for values in the tables off or on (on by default).
Delete picture file after adding it to an item
Deletes the picture from your disk after it has been added to the Data Crow database. This option is turned off by default which is the recommended settings.
Check for new versions on start up
Checks whether there is a new release of Data Crow available (on start up). On by default.
Automatically update the online services pack
Checks whether there is a new release of Data Crow online services pack. If so, it will be automatically downloaded and updated.
HTTP Settings #
Menu path: Settings > Settings > HTTP Settings
If you are not behind a proxy and / or you have no problems using the online search you can stay away from these settings. In case you are behind a proxy you configure it here.

Proxy Server name
The name of the proxy server must be specified when you are behind a proxy server.
Proxy Server port
If you are behind a proxy server, you must specify the proxy server port number. By default, the port number is set to 0 (no proxy). Most proxy servers will be set to port “8088”
Proxy username
If needed, input the username needed for the entered proxy server
Proxy password
Enter the password belonging to the given username
Browser path
Specify the browser which should be used by Data Crow when opening hyperlinks.
By default Data Crow will try and find the default browser for the current environment. This however can fail causing URLs not to be opened in your browser. To fix this, specify your specific browser here.
Item Form Settings #
Menu path: Settings > Item Form Settings
This dialog allows you to maintain the tabs as displayed on the item form. By default, for most modules, there are three tabs: Information, Summary and Technical Information.

Tabs
You can maintain the tabs from the Tabs menu;

Adding a Tab
Here you can define new tabs or delete and existing one. To create a new tab press the “Add” button. This will open an item form where you can define the name and an icon for the new tab.
Press the Save button to make this tab available.
Removing a Tab
Select the tab you want to remove from the Tabs table and press the Delete button.
Setting the order for the Tabs
The order in which the tabs are displayed on the item form can be changed to your needs. Select a Tab from the Tabs table and use the arrow buttons from the right hand side of the screen to move the Tab. Press the Save button to save your settings.
Assigning Fields to Tabs
Tabs need to have fields assigned to them in order for them to function correctly. In the upper part of the screen you can select the Tab you would like to edit. In the lower part of the screen you will find the available fields and the selected fields.
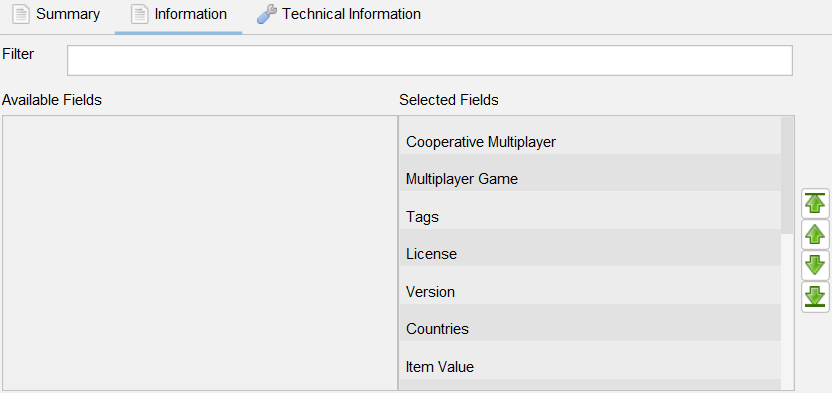
Available fields can be added to this Tab, the selected fields have already been assigned to this Tab. Double-click on a field to move it from the selected to available list or vice versa.
Note: In case there are no available fields listed you will first have to make fields available by removing them from one of the other tabs.
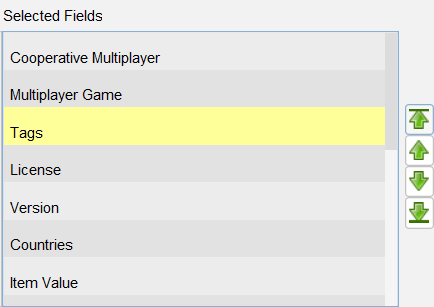
Field Order
You can change the location of a field. Select one of the selected fields and use the green arrow buttons to move it to its desired location (up or down).
Look and Feel #
Menu path: Settings > Look & Feel
A Look and Feel changes the complete visual presentation of an application, the.. look and feel so to speak. Selecting one of the look and feels applies it directly.
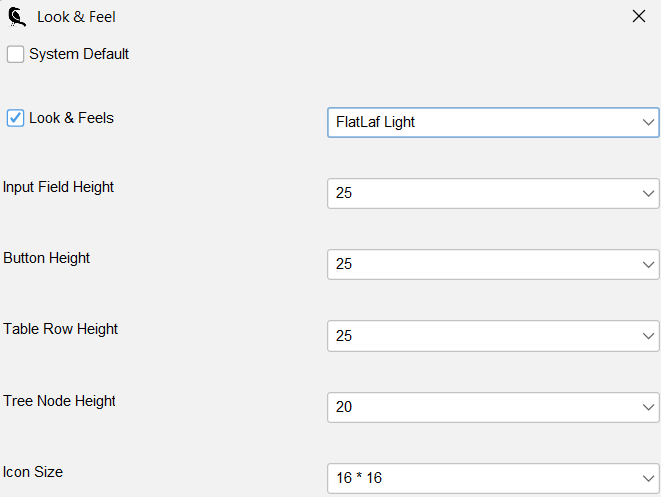
System Default
This is the Look and Feel as delivered by Java and is specifically designed for the platform you are running on.
Look and Feels
The look & feels drop down contains all currently available look and feels in Data Crow. It contains both look and feels provided by Java as well as externally created look and feels.
Heights
You can change the heights of various input and display elements, if so required.
Icon Size
You can select the size of the icons assigned to items, when they are displayed.
Enabled Modules #
Menu path: Settings > Settings > Enabled Modules
In case you don’t use a certain module, you can disable this module here. The items belonging to this module will not be removed. Simple uncheck the checkbox to disable a module and check it to enable a module. Press “save” and the settings are applied.
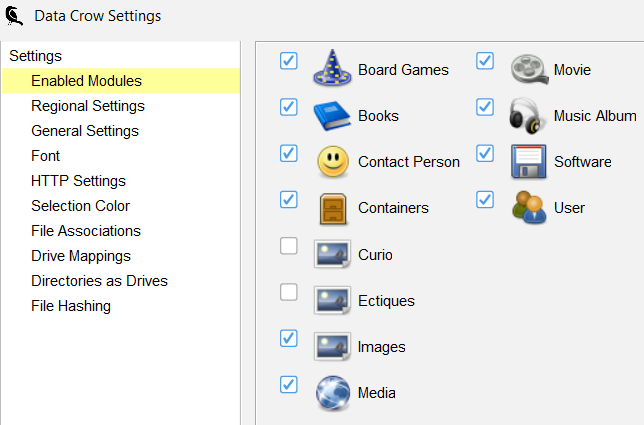
Disabling the Loan functionality
In case you are not using the loan system you can disable this functionality by disabling the “contact person” module.
Quick View Settings #
Menu path: Settings > Quick View Settings
General Settings
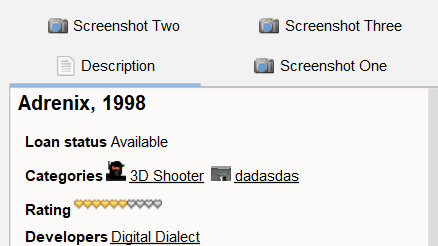
If the option “Show pictures in separate tabs” is enabled each picture (if present) is displayed in a separate tab as opposed to showing them on within the Description tab;
Fields
The fields displayed in the Quick View and the order of the fields can be configured using the quick view settings. To move a field select it in the table and use the arrow buttons to move the field up or down.
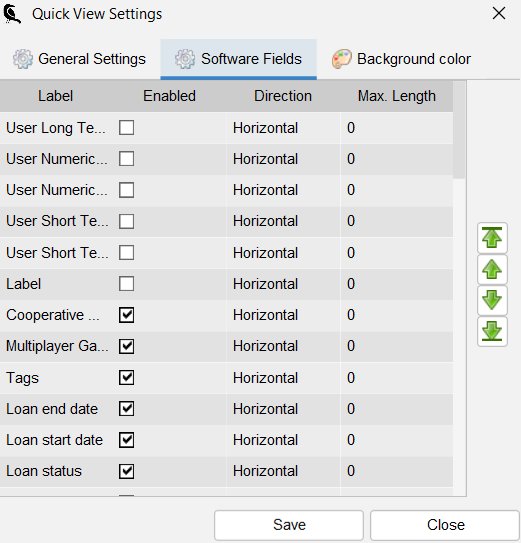
For each field the following properties can be set:
| Enabled If a field is enabled it is shown in the quick view. Note that a field is only shown when it contains a value. |
| Direction Determines where the label is positioned as opposed to the text. |
| Maximum Length Sets the maximum display length for the value of this field. Default is 0, meaning the value will be displayed as is. |
Background colour
Here you can change the background colour of the description panel.
Regional Settings #
Menu path: Settings > Settings > Regional Settings
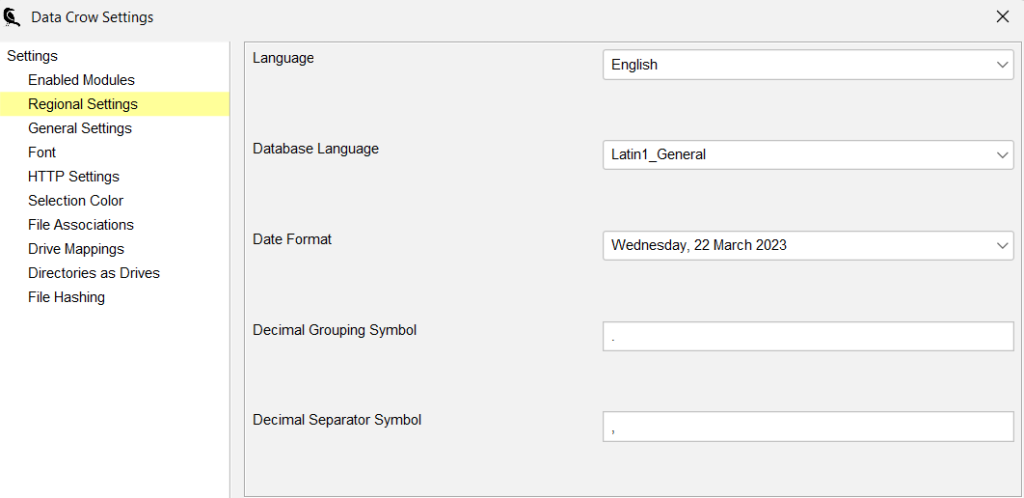
Language
Select the language of your choice. A restart is advised for the selection to become fully active.
Database Language
This dictates how Data Crow sorts your items. The default will work for most users. However, if you find the ordering of special characters for example is not working correctly make sure to select the correct database language.
Date Format
Here you can define how Data Crow will represent dates. It also dictates the format of dates added by the CONTROL+F5 key to text fields.
Decimal Grouping Symbol
In the value 1,000,000.00 the “,” sign is the decimal grouping symbol.
Decimal Separator Symbol
In the value 1,000,000.00 the “.” sign is the decimal separator symbol.
Date Format
Select the way Data Crow should display date values.


