
If you use Data Crow as a stand alone application, for your own personal use, there might not be a real reason to create additional users. If however, you are running Data Crow as a server with clients (either through the web or through the thick clients) connect to it.. then it is about time to learn about user management.
The Security is arranged in the Users module.

By default any user starting your installation of Data Crow will see all the information you entered. Any user could even change or delete your items.
By creating users you determine which users are allowed access and what they are allowed to do. Users can be created in the user module (this module is only available for administrators). This module functions like any other module. You can search for, create, modify and remove users.
You can determine which modules users can see, which fields of the module they can view or edit and which tools they will have available in working with the items they do have access to.
The first thing you will have to do is to create an admin type user, which will be how you, as an administrator of Data Crow, will connect to the Data Crow instance.
Default situation #
By default one administrator user is present within in Data Crow. This user has the default login name of “sa”. No password has been set, which enables Data Crow to log in automatically. This is the default situation. If you run a server, and you are asked for credentials without having any user set up yet, you will log in with username sa and no password.
Creating a user #
You can create a user by going to the user module and selecting “create new”. The item form is opened and you can start filling the information.
The most important information to enter is the “Login Name”. The login name is used by the user to log into Data Crow. Once saved the login name cannot be changed!
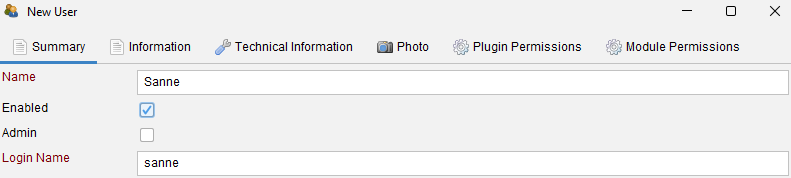
The “Admin” property (unchecked by default) is very important. If checked, the user becomes an administrator and will have all rights within Data Crow. It is recommended to only have one administrator.
Administrators #
Some operations are only allowed for administrators:
- Removing / deleting items
- Changing the application settings
- Creating, updating or deleting users
- Creating templates for items
If a user is an administrator, it will have full access to… well, everything in Data Crow. Additional security constraints will be disregarded.
Module permissions #
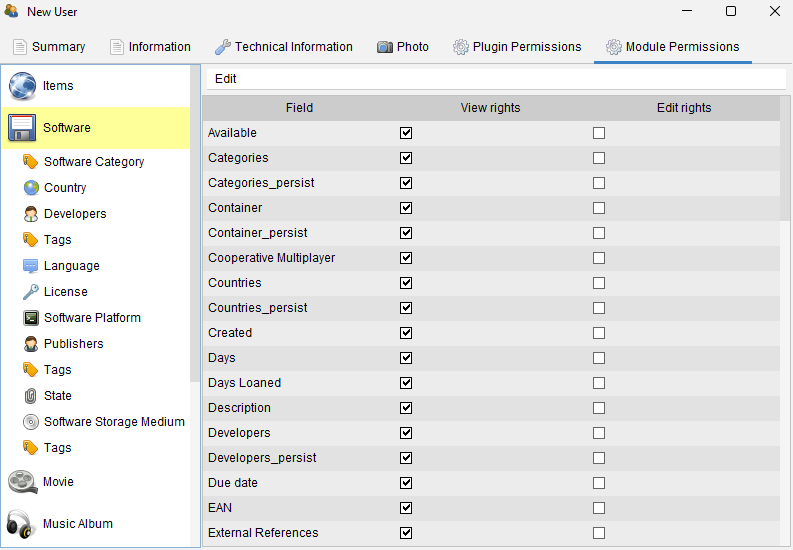
In the Module Permission you can set the module and field access for the user. For each field you have the option to allow viewing or editing.
By unchecking all rights the user will not be able to edit or view the field and will be invisible to this user.
To deny access to the module you have to remove the rights from all of its fields.
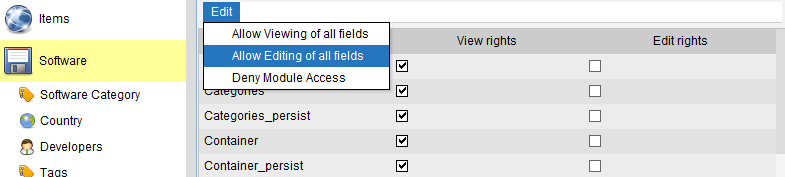
Using the edit menu you can quickly set all field to read only (“Allow viewing of all fields”) or allow editing of all fields (“Allow editing of all fields”). To deny access to the module (by removing all right from all fields) you can use the “Deny Module Access” menu option.
Plugin permissions #
Some plugins are only available to the users after he has been authorized access to these plugins. In the “Plugin Permissions” tab you can either grant or deny the user access by checking or unchecking the “Authorized” field.

Setting a Password #
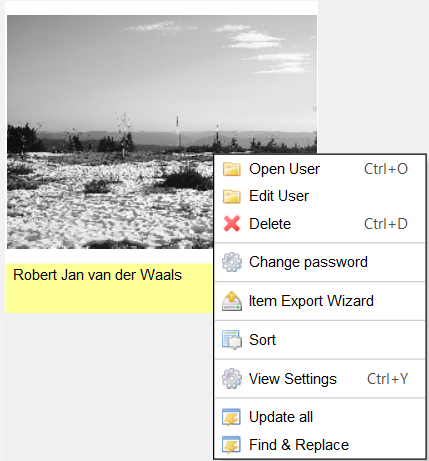
Once a user has been created you might want to set a password. Right-click on the user in the view and select Change password.
Changing the password (by the User) #
Menu path: User > Change Password
By default the password for each users has not been set. From the “user” menu you can change your own password (“Change password”). First enter your old password (or leave empty if no password has been set) then enter your new password twice.


