Web client > Settings > Administration (administrators only)
Administrators have extra sections in the settings, under the heading Administration. What you change here applies to everybody who uses Data Crow. Other users do not see these sections.
System information #
A quick look at how your Data Crow Server is doing: the version, since when it is running, the number of connections, the date of the last full backup, where the program and the data are stored, the database, the memory and the system it runs on. The connections and the last backup are links: click them to go to the right section. Click Refresh to update the information.
Server specific settings #
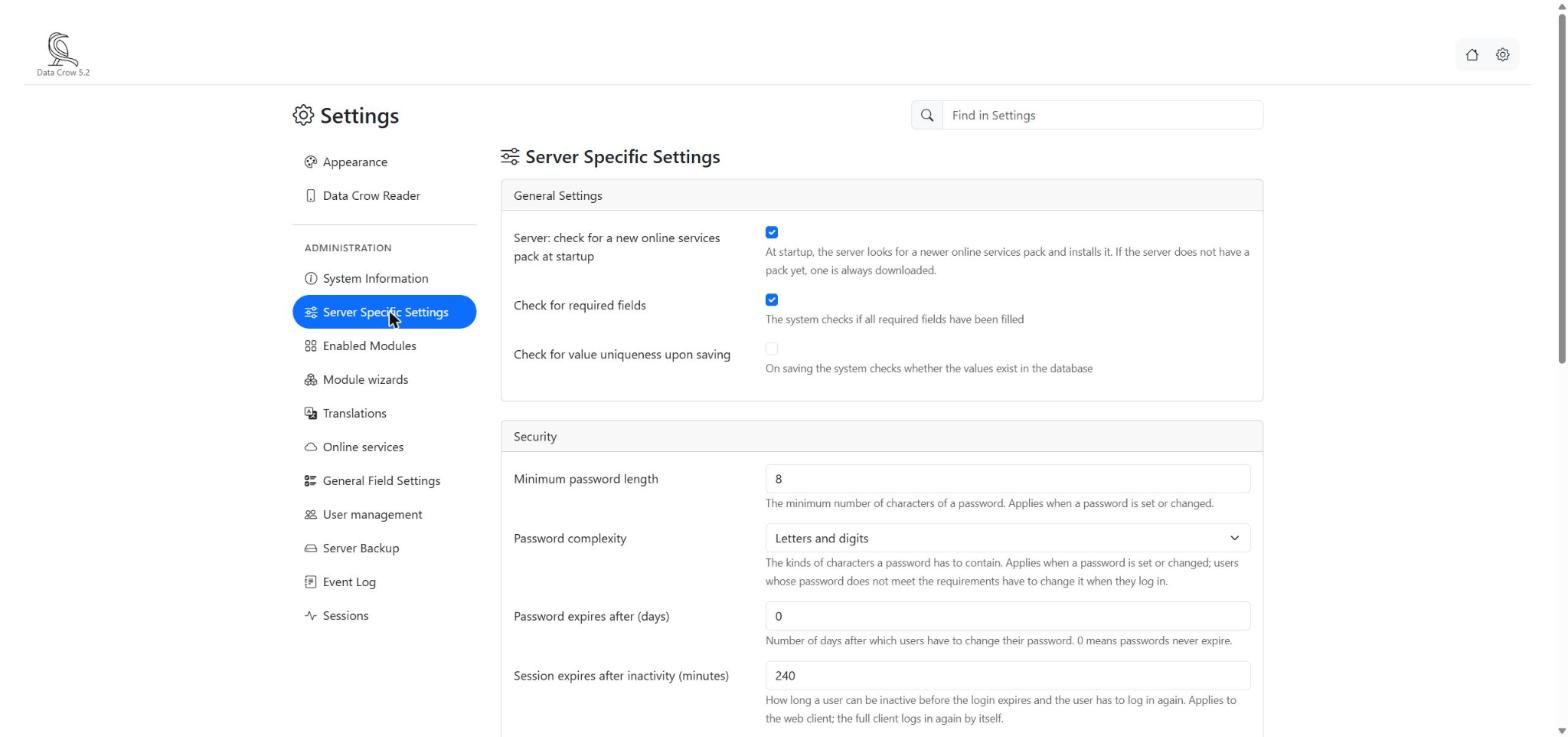
The settings of the server, in groups. General Settings has options such as whether Data Crow checks that required fields are filled. Security holds, among others, the rules for passwords (the minimum length, which kinds of characters are needed, and after how many days a password expires), the number of minutes after which an inactive user is logged out, and the limits for attachments. Change what you need and click Save. Data Crow checks whether the numbers you enter are allowed. All the security options, such as the rules for passwords and the checks on attachments, are explained in Configuring Data Crow.
Enabled modules #
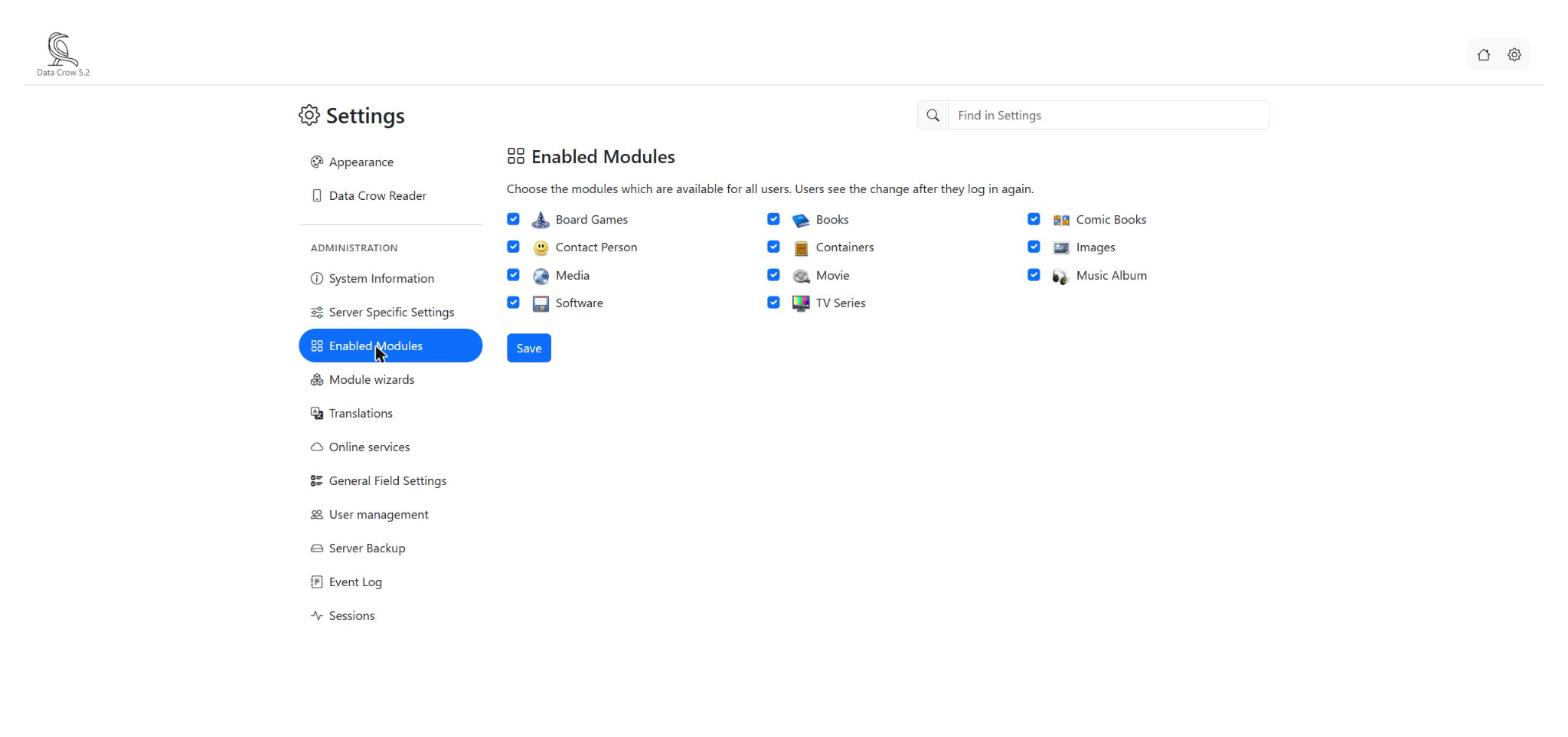
Here you choose which modules everybody can use. Tick the modules you want to offer and click Save. Users see the change the next time they log in.
Module wizards #
Create your own modules, for example for a collection which Data Crow does not have a module for. This has its own page: Module Wizards.
General Field Settings #
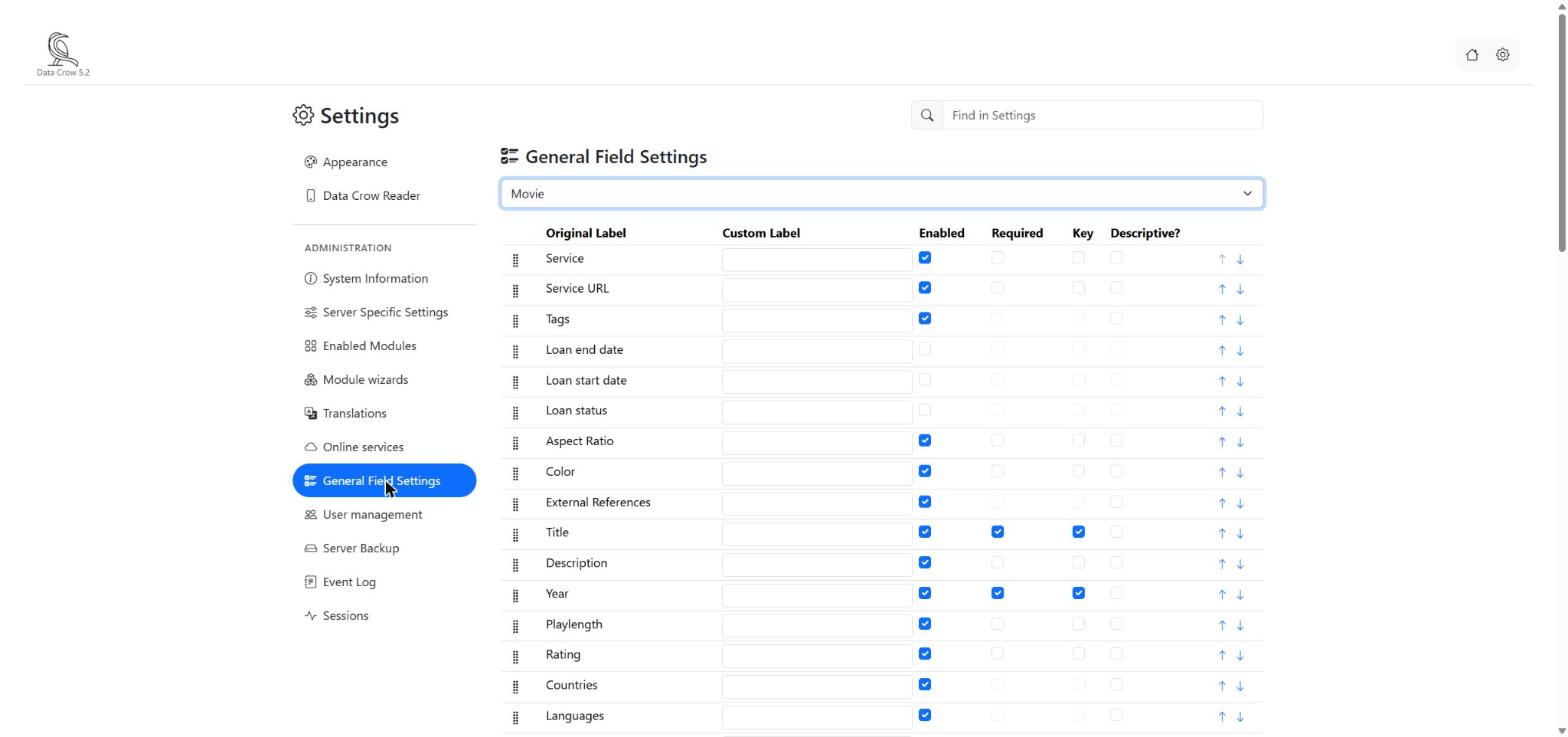
Every module has fields, such as the title or the year. Here you decide how they are used by everybody.
- Choose a module in the list.
- For each field you see its original name. Type a Custom Label if you want to call it something else.
- Use the check boxes to decide whether the field is Enabled (switched on), Required (always has to be filled), Key (the field is used to recognize an item which exists already, so you do not add it twice) and Descriptive? (the field helps to recognize the item, such as the title).
- To change the order of the fields, drag a field by its handle, or use the arrows to move it up or down.
- Click Save, at the bottom of the list.
Online services #
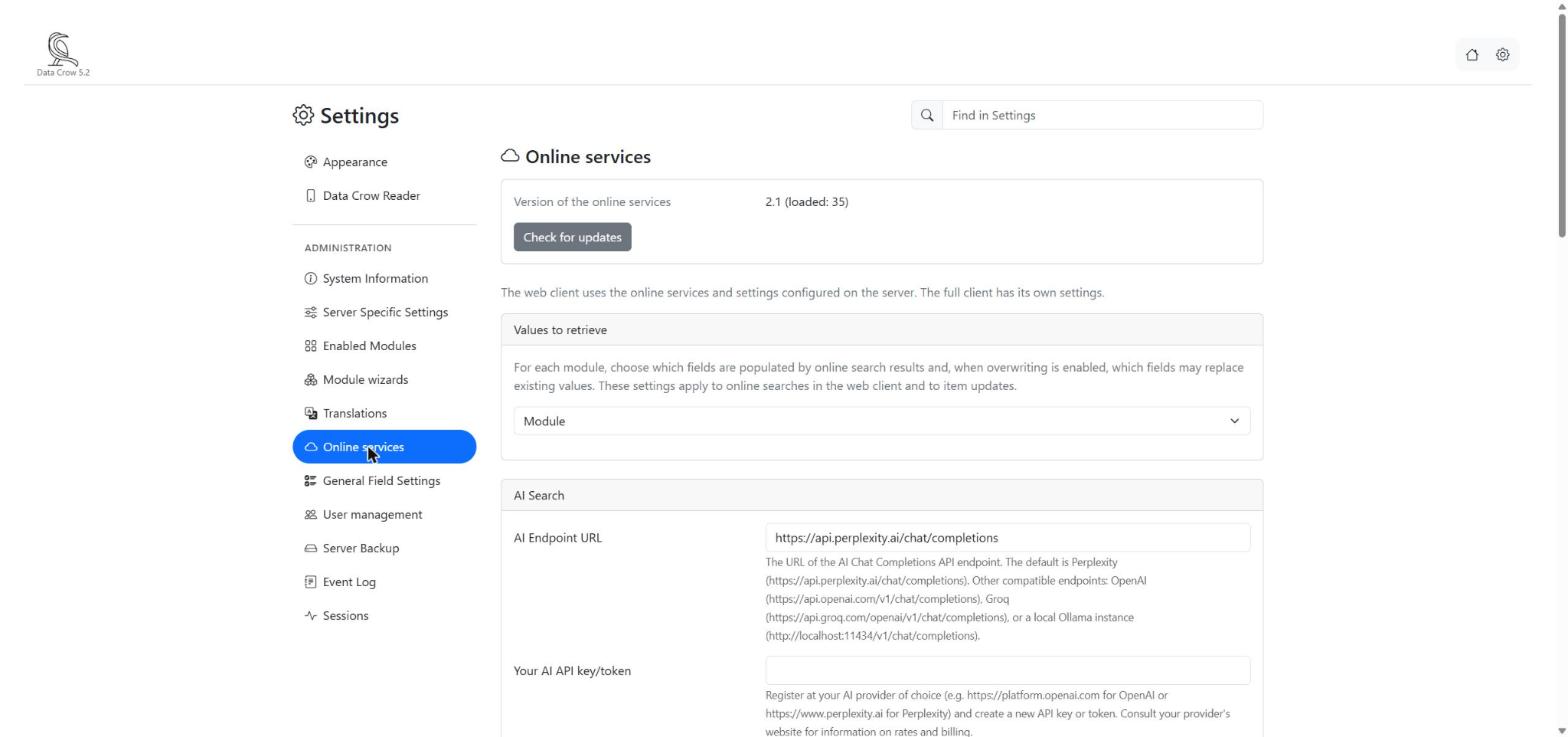
This is where you take care of the online services which Online Search uses.
- You see the version of the services. Click Check for updates to find out whether a newer set is available.
- Services which need an API key have their settings here, in a box of their own. An example is AI Search, which needs a key or token from the AI provider you choose. An API key is a kind of password which you request on the website of the service itself. Enter it here and click Save. See also Online Search.
- Under Values to retrieve you choose, for each module, which fields Online Search may fill in, and whether values which an item already has may be overwritten.
Translations #
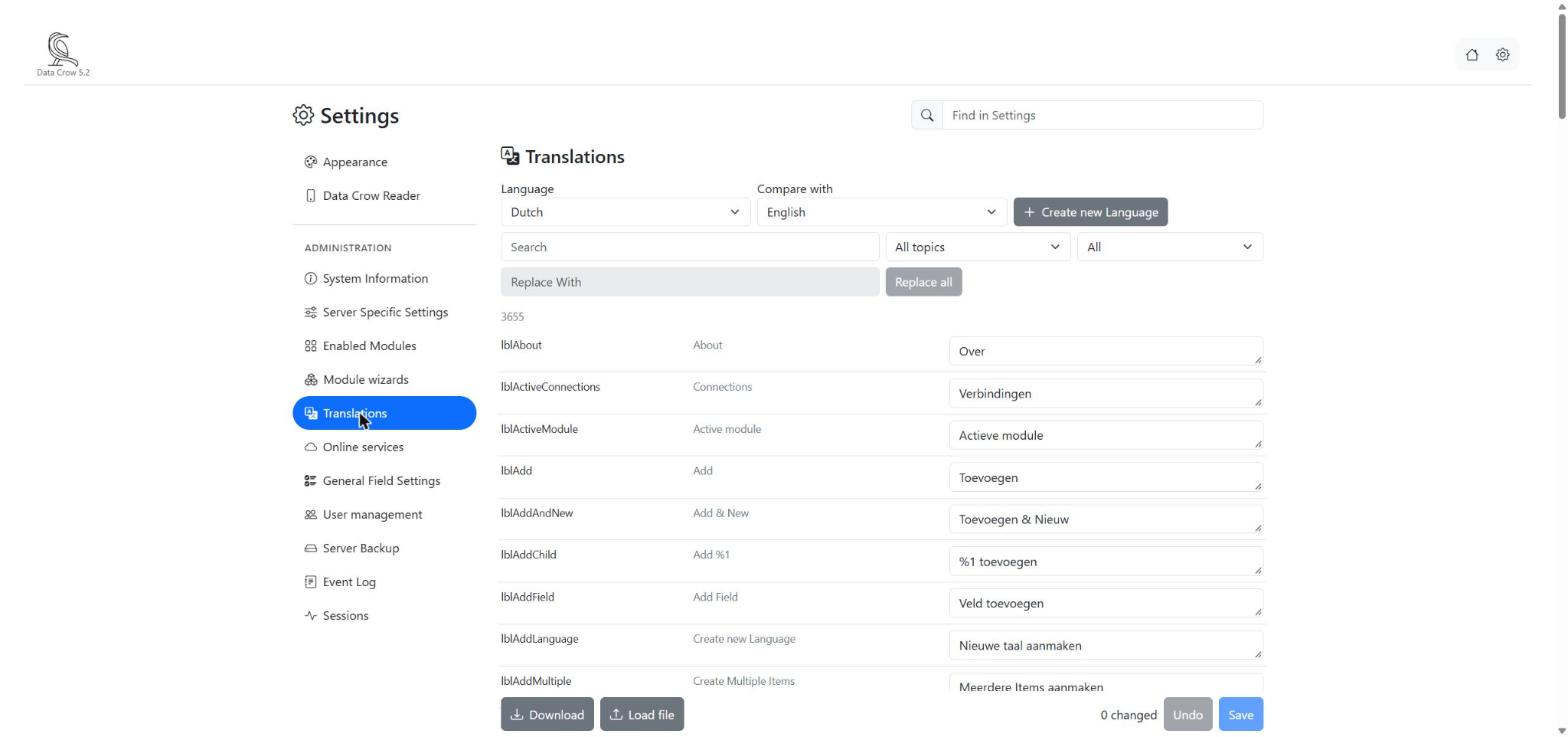
Every text in Data Crow can be translated. Here you can improve the existing translations, or add a language.
- Choose the Language you want to work on. If you want to see the English text, or another language, next to it, choose that in Compare with.
- Find the text you want to change. Type in the search field (it searches the translation, the original text and the description), choose a topic, or show only the texts which are Not translated or Changed.
- Type your translation.
- Click Save. The number of changes you have made is shown at the bottom, and Undo takes your changes back.
- To change one word everywhere, type it in the search field, type the new word in Replace With and click Replace all.
- To add a new language, click Create new Language, give it a name and choose a language to start from.
- Download saves a language to a file. Load file reads a file. The texts which are different are shown as changes, but nothing is saved until you click Save.
A translation cannot be empty, and it has to keep the codes of the English text (a percent sign with a number, such as %1). Texts which do not are not saved, and Data Crow tells you which ones. English itself cannot be changed: it is replaced with every update of Data Crow. A field which has its own label in the General Field Settings shows that label instead of the translation.
User management #
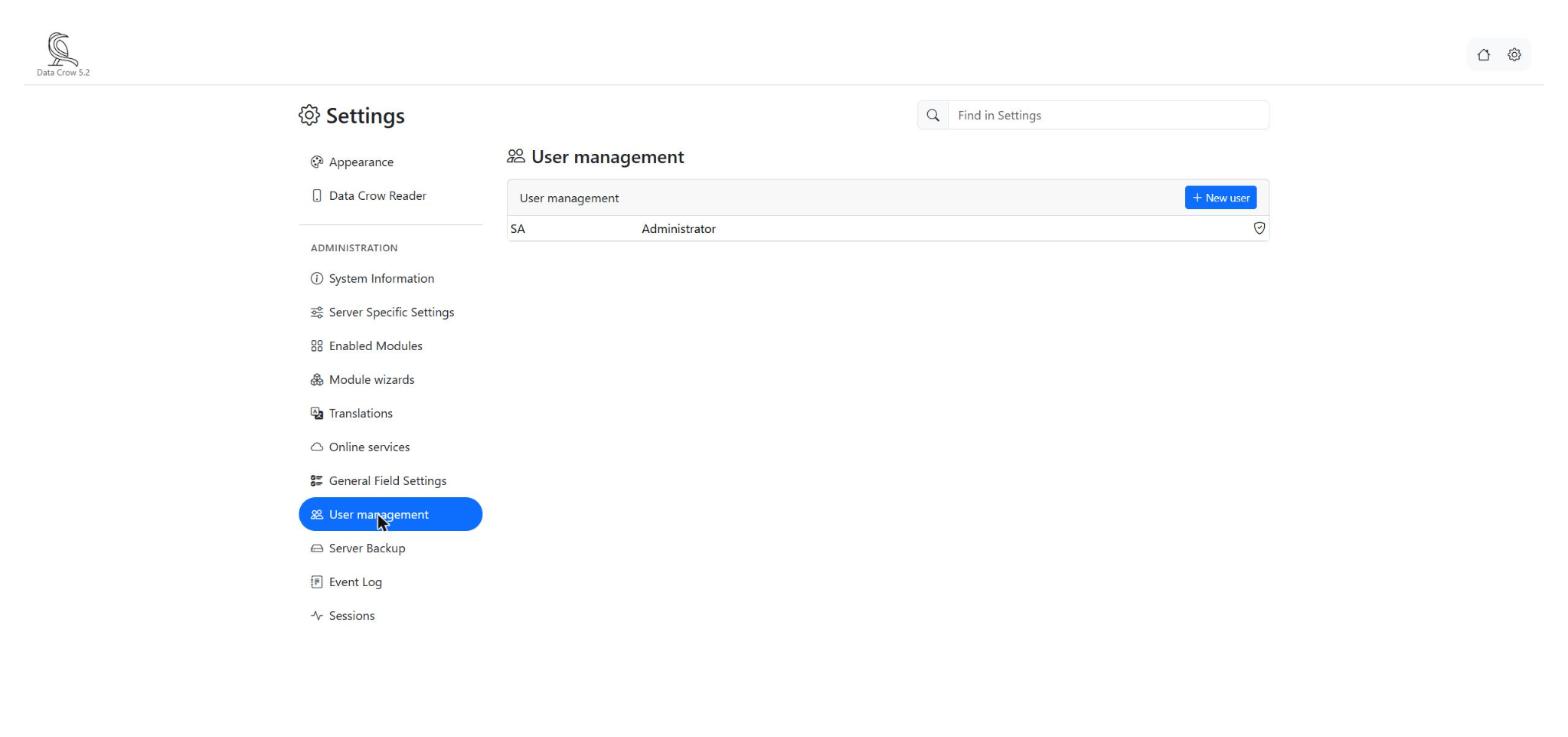
Here you decide who can use Data Crow, and what they are allowed to do. The list shows the users. An administrator is marked with a shield.
Creating a user #
- Click New user.
- Type a Login name. You can also fill in a name and an email address.
- Type an Initial password, or leave it empty if the user does not need a password. A user who has no password can only log in from your own network.
- Tick Enabled so the user can log in. Tick Administrator only for people who may change everything.
- Set the module permissions, see below, and save.
Changing a user #
Click a user in the list. A user who is switched off is marked as disabled. To give a user a new password, type it and click Save next to the password. If a user lost their phone and cannot log in with a code, click Switch off behind Two-factor authentication. To delete a user, use the delete button and confirm.
Module permissions #
For every module you decide what the user may do: nothing, only look at the items (view), or also change them (edit). You can also set this for each field: a field without permission can be looked at, but not changed. Choosing edit includes viewing. The list behind a module has handy shortcuts: Allow Viewing of all fields, Allow Editing of all fields and Deny Module Access.
Server backup #
Make backups regularly, so you can always go back. A backup is kept on the server.
Making a backup #
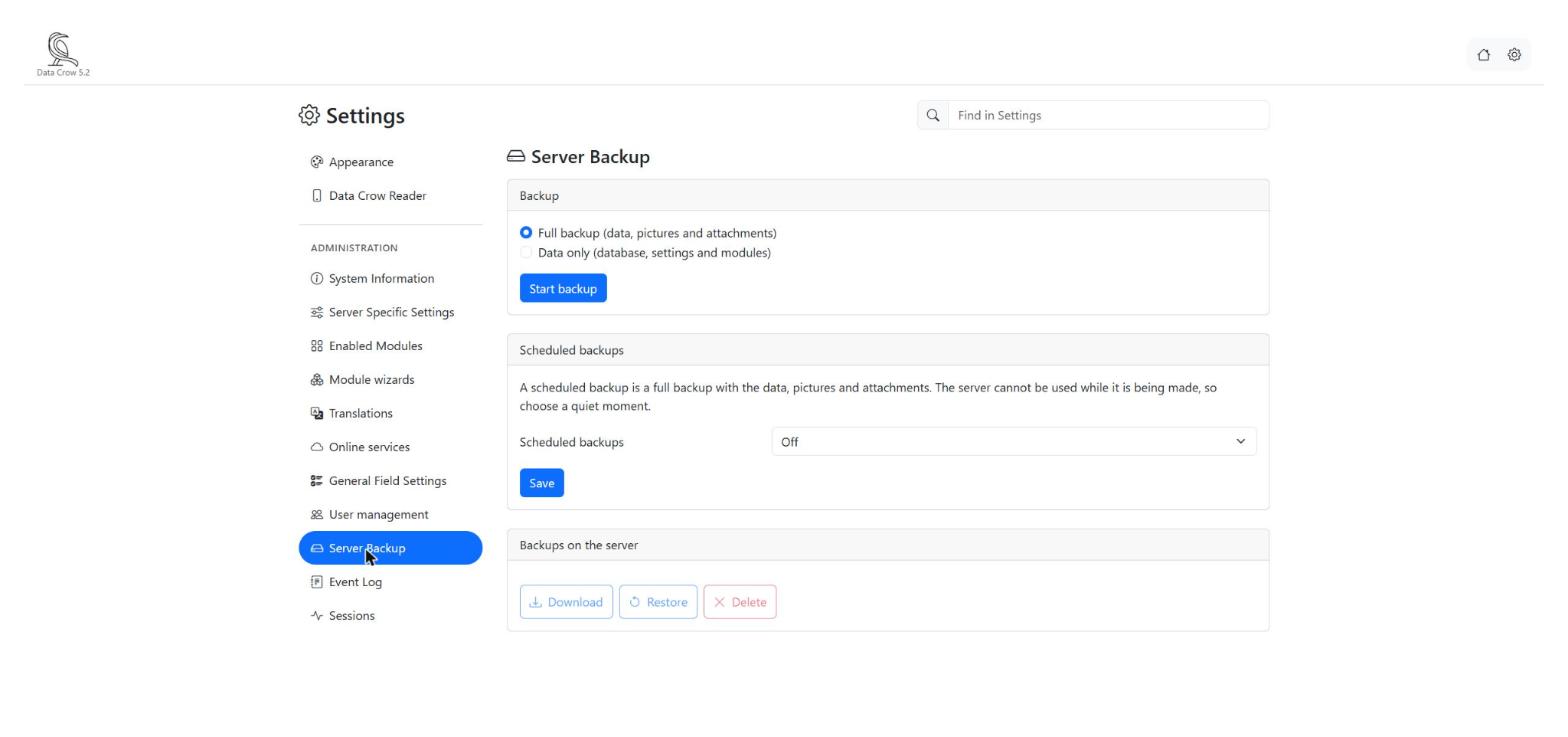
- Choose Full backup (your data, pictures and attachments) or Data only (the database, the settings and the modules).
- Click Start backup. You see how it is going.
While a backup is being made, nobody else can use Data Crow. They see a message that the server is in maintenance mode, and they can continue when the backup is finished.
Scheduled backups #
Let Data Crow make backups by itself. In Scheduled backups choose how often (daily or weekly), the day and the time, and how many scheduled backups to keep. Enter the time in your own local time, also when the server is in another time zone. Click Save. The time of the next backup is shown below. A scheduled backup is always a full backup. Only scheduled backups are removed automatically: the oldest one goes when there are more than you asked to keep.
Restoring a backup #
Under Backups on the server you see all backups, with their type: full, data only, scheduled, or snapshot before a change (Data Crow makes these itself before it changes modules or restores a backup). Select a backup to Download it, Restore it or Delete it.
Be careful with Restore. Everything you added after the backup was made is removed. Before it restores, Data Crow checks the backup, and makes a snapshot of how things are now. When the restore is finished, everybody is logged off and has to log in again.
Event log #
The log shows what the server has been doing, which is handy when something goes wrong. Choose the level of detail, type a word to filter the log, tick Refresh automatically or click Refresh. The log scrolls along with new messages, until you scroll up yourself. Download saves the log to a file, for example to send to someone who is helping you.
Sessions #
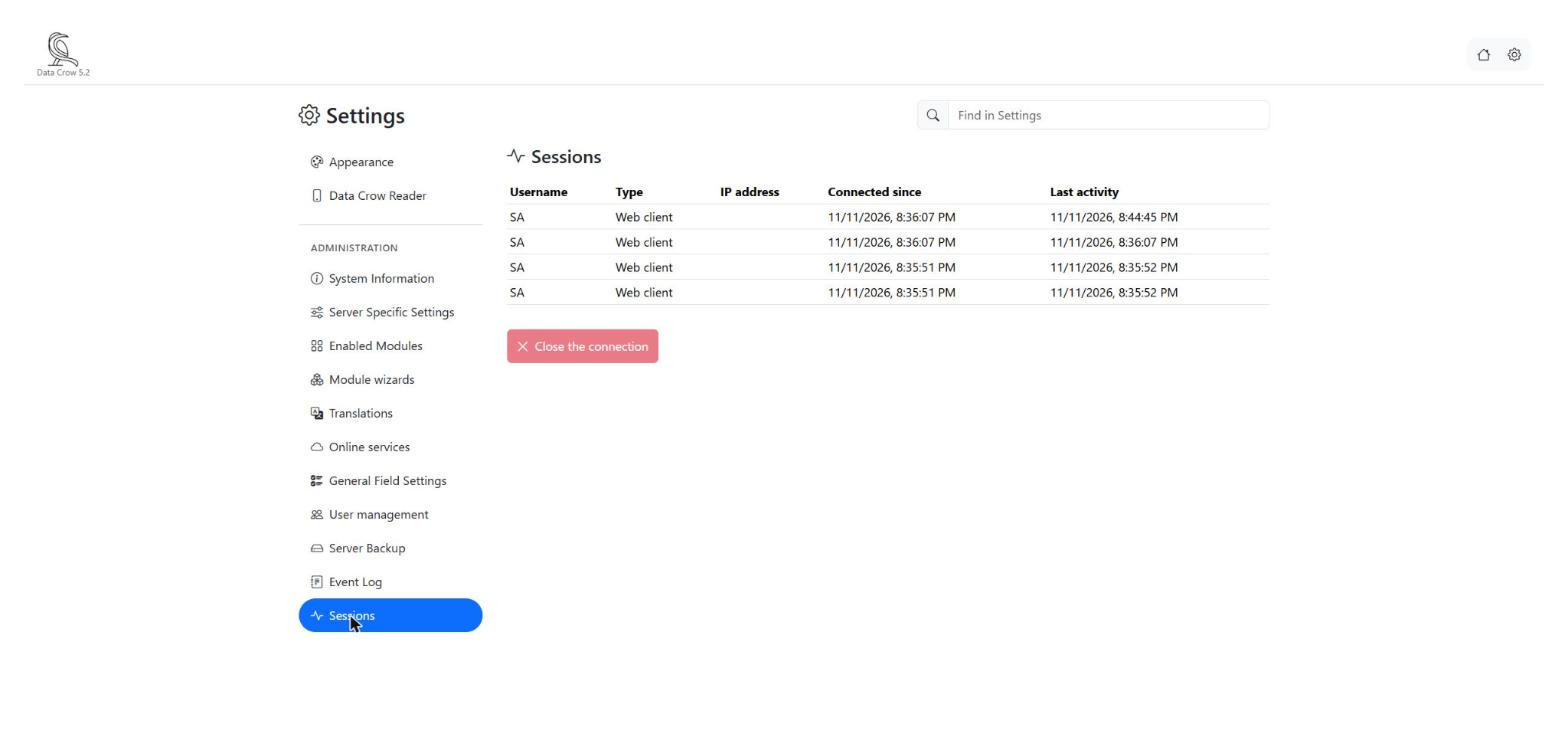
See who is connected right now: the user name, whether it is the web client or the full client, the IP address, since when they are connected and when they last did something. To disconnect someone, select the connection and click Close the connection. That user has to log in again.