
Web client > Overview
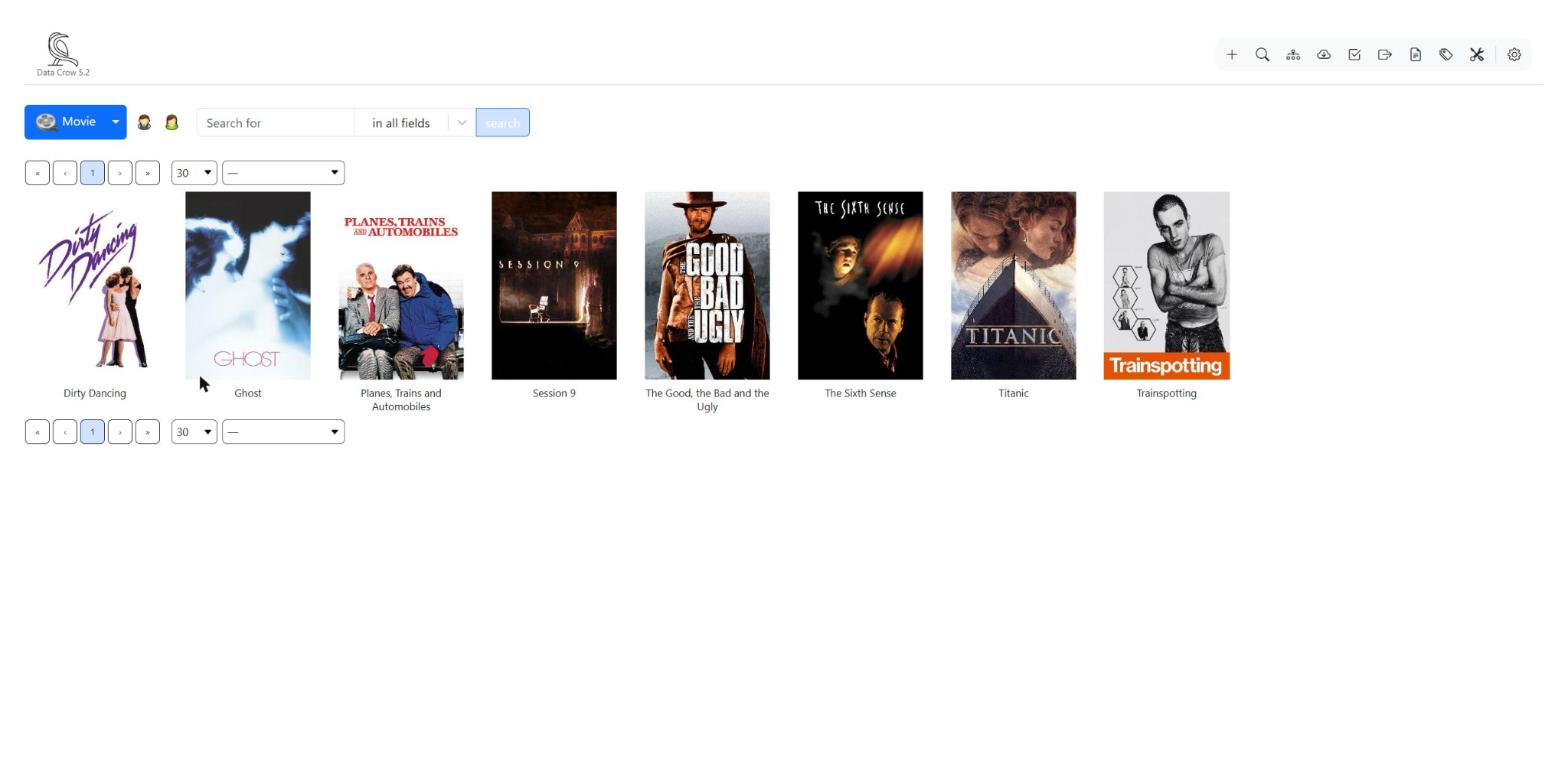
The overview is the first screen you see after logging in. It shows the items of the selected module as tiles, with a picture and the name of each item. Click a tile to open the item.
Finding your way around the overview #
A tile can show extra information. When an item has child items (for example a book with several editions), the number of child items is shown. When an item has been lent, a bar on the tile tells you so, and it is marked when it is overdue.
Pages and sorting #
When you have many items they are shown in pages. Above and below the tiles you find the page buttons, a list to choose how many items are shown on a page (from 30 up to 300) and a list to sort the items.
To sort the items:
- Open the sort list.
- Choose the field you want to sort on. The items are now sorted from low to high, for example from A to Z.
- Choose the same field again to turn the order around. The arrow behind the name of the field shows the direction.
Data Crow remembers your choices for each module, so the next time you open the module the items are sorted in the same way.
Searching #
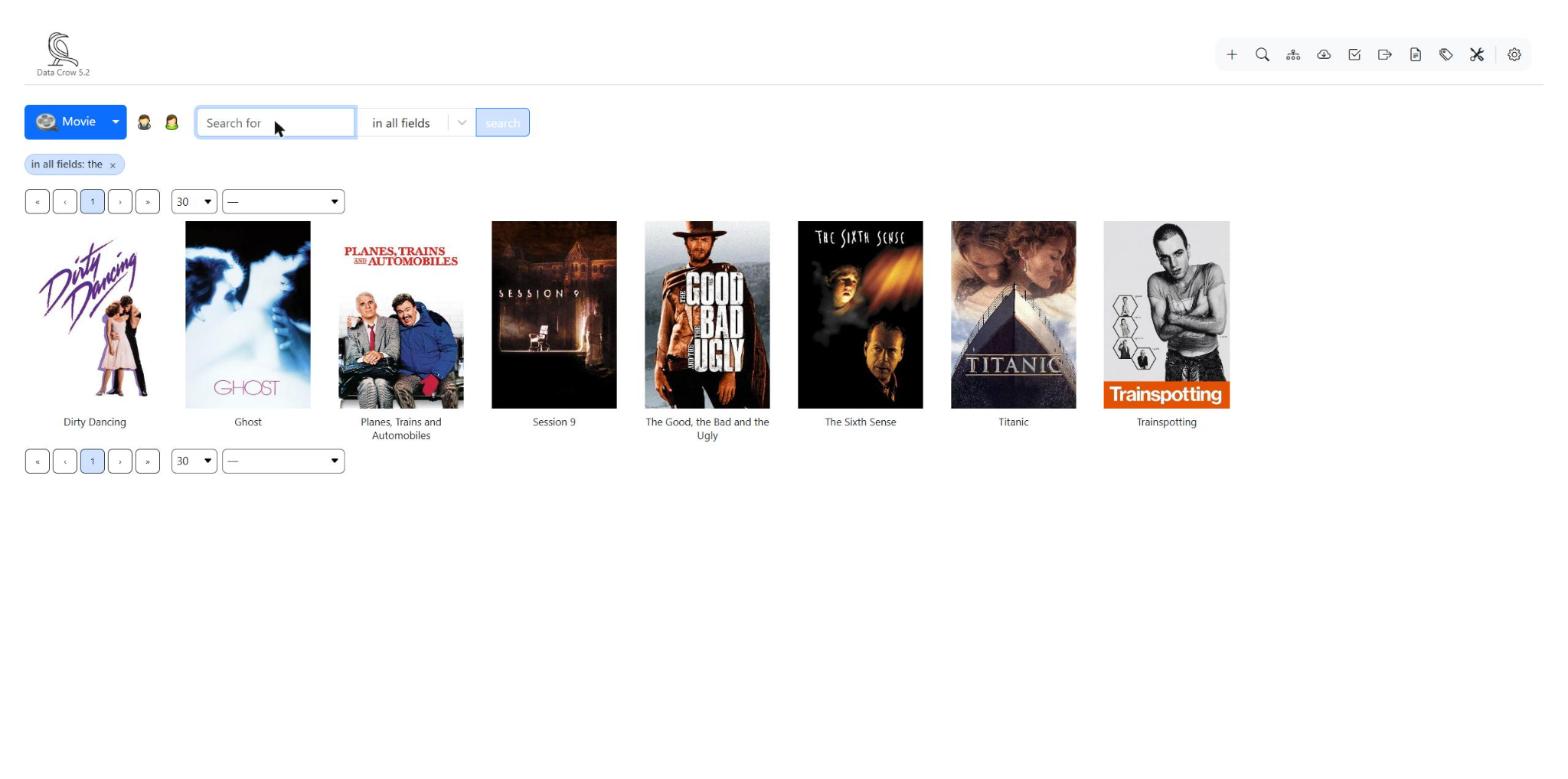
- Type what you are looking for in the field Search for.
- Data Crow searches in all fields. If you only want to search in one field, such as the title, choose that field in the list next to the search field.
- Click search.
Your search appears as a small tag above the items, for example Title: star. The items you see are the ones which match. You can search again to narrow down the result: the items then have to match all the tags. Click the cross on a tag to remove it, or click clear to remove all the tags at once.
Tip: Data Crow remembers your tags, and the field you searched in, for each module on this computer. If you open a module and see fewer items than you expected, check whether there are still tags above the items.
Searching on numbers and dates #
When you choose a field with numbers (such as a year) or dates, the search field shows an example of what you can type:
- >2000 <2010 finds the numbers between 2000 and 2010.
- >2020-01-01 finds the dates after 1 January 2020.
Advanced Find #
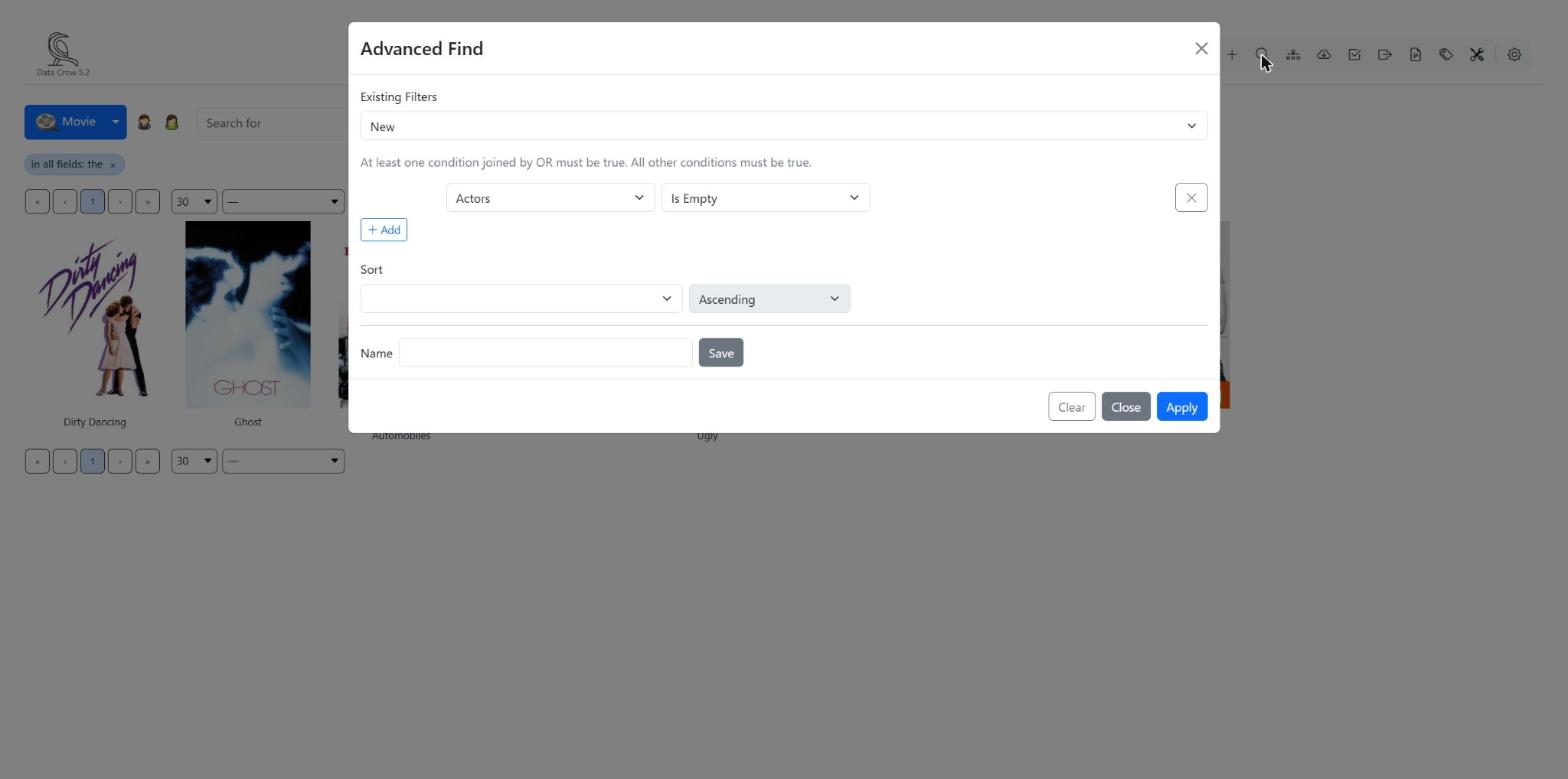
Use Advanced Find when a simple search is not enough. For example, to find all items from after 2010 which have a rating higher than 3. Click the magnifier in the top bar to open it.
- In the first line, choose a field. Then choose how to compare it, such as Greater Than or Contains, and type the value.
- To add another condition, click Add. In front of the new condition you choose And or Or.
- If you want, choose how the result must be sorted (Sort, ascending or descending).
- Click Apply.
And and Or work like this: all the conditions with And have to be true. Of the conditions with Or, at least one has to be true.
The ways to compare depend on the field. For text you can use Equal To, Not Equal To, Contains, Does Not Contain, Starts With, Ends With, Is Empty and Is Filled. For numbers you can also use Less Than and Greater Than. For dates you can use Before, After, Days Before, Days After, Today, Months Ago and Years Ago. Regular Expression is for people who know how to write them; you can ignore it.
After you click Apply, your filter appears as a tag with a funnel above the items. Click the tag to change the filter, or click the cross to remove it.
Saving a filter #
If you use a filter often, save it. Make the filter, type a name in the field Name and click Save.
Your saved filters appear in a list next to the search field. Choose one to use it right away. Choose it again, or empty the list, to stop using it. A saved filter also remembers its sort order.
To change or remove a saved filter, open Advanced Find and choose the filter in the list Existing Filters. Change it and click Save again, or click Delete to remove it. The first choice in that list, New, starts a new filter.
Group By: browsing in a tree #
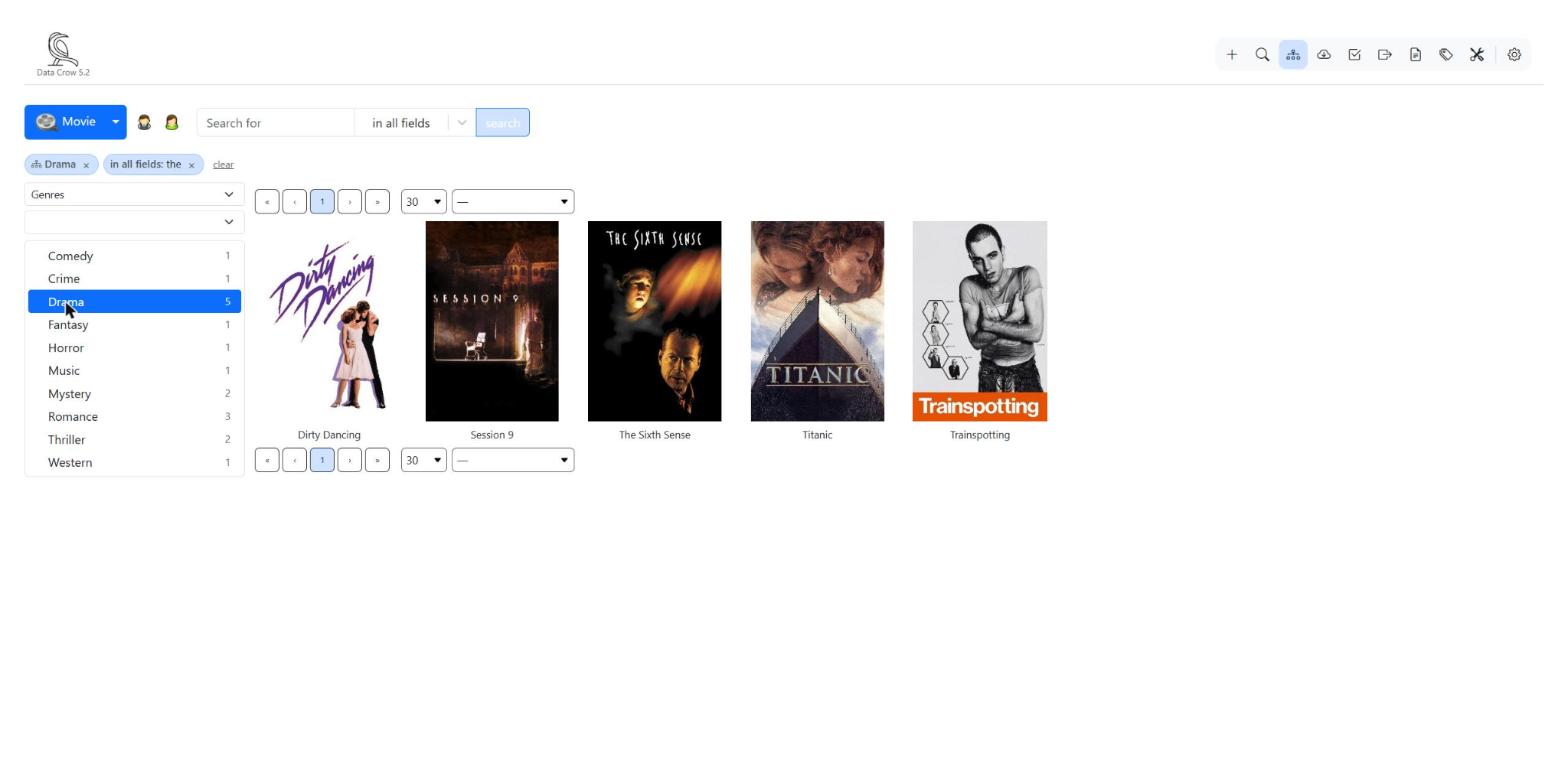
Group By shows your items in a tree, so you can browse them, for example by genre and then by year. Click the Group By icon in the top bar.
- Choose a field in the first list. This is the top level of the tree.
- If you want, choose a second field, and then a third. You can use up to three levels.
- Click a value in the tree. Only the items with that value are shown. The tree tells you how many items each value has.
The value you chose appears as a tag above the items. Click the cross on the tag to see all the items again. Data Crow remembers which fields you chose, for each module. Group By is not available for modules which only group other modules.
Using everything together #
Search tags, Advanced Find and Group By can be used at the same time. The items you see are the ones which match all of them. The tags above the items show what is switched on. Click clear to remove them all.


